
Canless recessed lighting has quietly revolutionized residential illumination over the past few years. Unlike traditional recessed fixtures with separate trim rings and cans, a 4 inch canless recessed light integrates the LED driver and heat management directly into a compact housing that sits flush between joists. This eliminates the bulky infrastructure that’s cluttered attics and ceilings for decades. For homeowners tackling renovations or new construction, these fixtures deliver cleaner aesthetics, easier installation, and energy savings that justify their slightly higher upfront cost. By 2026, canless systems have become the go-to choice for anyone who values both function and a finished appearance.
Table of Contents
ToggleKey Takeaways
- 4 inch canless recessed lighting integrates the LED driver and heat management into a compact housing, eliminating bulky infrastructure and delivering cleaner aesthetics with faster installation.
- Canless fixtures consume 75–80% less energy than incandescent bulbs and typically draw only 8–15 watts per unit, with annual savings exceeding $100–150 for a dozen fixtures in most homes.
- IC-rated canless recessed lights allow insulation contact without compromising your building envelope, unlike traditional cans that create thermal bypass paths and reduce insulation effectiveness.
- Installation time for 4 inch canless fixtures drops to 15–20 minutes per unit thanks to integrated housing, simple push-wire connectors, and no separate assembly steps required.
- Choose your fixture by matching color temperature (4000K for kitchens/bathrooms, 3000K for bedrooms) and brightness (lumens, not wattage), then verify IC-rating and dimmer compatibility before purchase.
What Are Canless Recessed Lights and Why They Matter
A canless recessed light strips away the traditional metal can, that cylindrical housing that sits above the drywall, and replaces it with a trim-and-housing assembly that’s integrated into one unit. The LED module, driver, and thermal management system are built into the fixture itself, rather than being separate components. This design sits between ceiling joists or studs, and a trim ring (usually 4 inches in diameter for standard applications) attaches directly to the housing.
Why does this matter? Traditional recessed cans create thermal bypass paths in the attic, pulling conditioned air into unconditioned spaces and reducing insulation effectiveness. Canless fixtures, especially those rated for insulation contact (IC-rated), sit flush and don’t compromise your building envelope. They’re also quieter (no cooling fans), require fewer components, and take up less horizontal space, a genuine advantage in tight ceiling cavities. Installation takes less time, which translates to lower labor costs if you’re hiring, or more satisfaction if you’re doing it yourself.
Key Advantages of 4 Inch Canless Systems
Energy Efficiency and Cost Savings
Canless recessed fixtures use LED technology exclusively, there’s no halogen, incandescent, or CFL option. That’s actually a benefit. Modern LEDs consume 75–80% less energy than incandescent bulbs while delivering the same light output. A 4 inch canless fixture typically draws 8–15 watts per unit, compared to 50+ watts for older recessed cans with traditional bulbs.
Over the life of a fixture (typically 25,000–50,000 hours for LED drivers), that efficiency adds up. If you’re installing a dozen fixtures throughout a home, the annual energy savings can exceed $100–150, depending on usage and local electricity rates. Plus, many utilities offer rebates for LED retrofit projects, worth checking before you purchase.
Streamlined Design and Installation
The 4 inch trim diameter is the sweet spot: large enough to deliver adequate light distribution without the visual footprint of 6 inch fixtures, and small enough to work in standard residential joist spacing (typically 16 inches on center). Because the housing, trim, and LED are integrated, you skip the step-by-step assembly required with traditional cans. No springs to compress, no trim rings to finesse into mounting brackets, no separate ballasts to wire.
Installation time drops to roughly 15–20 minutes per fixture for an experienced DIYer, versus 30–40 minutes with traditional cans. The electrical connection is usually a simple push-wire connector or J-box terminal, cutting down on potential miswiring mistakes. Drywall cutouts remain standard (typically 4.5 inches in diameter for the trim), so you’re not dealing with custom framing.
How to Choose the Right 4 Inch Canless Fixture for Your Space
Start with color temperature and brightness (measured in lumens). For kitchens and bathrooms, aim for 4000K (cool white) and 500–800 lumens per fixture, bright enough for task lighting and makeup or food prep. Bedrooms and living areas benefit from 3000K (warm white) and 400–600 lumens, which feels inviting without harsh glare. Lumens and wattage aren’t directly linked anymore with LEDs: always check the spec sheet.
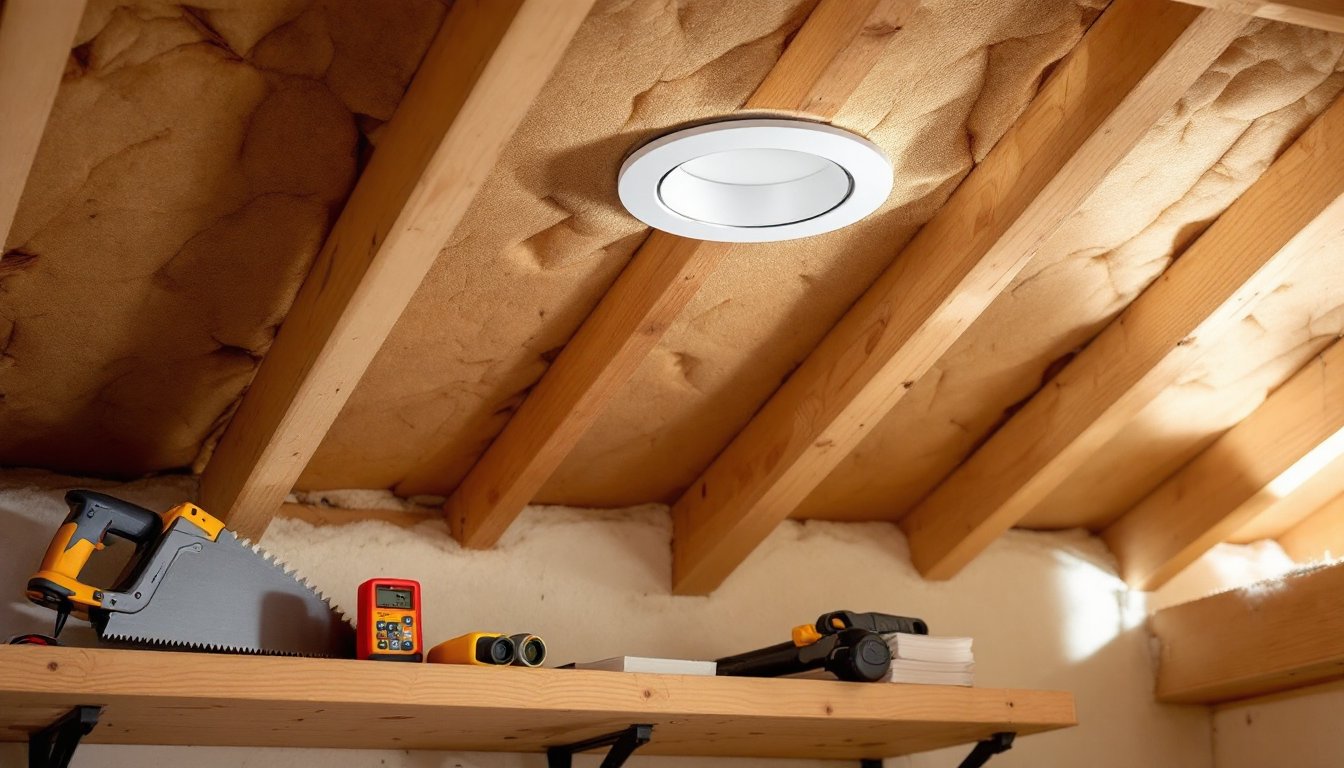
Next, confirm IC-rating if you have insulation in your attic. An IC-rated fixture allows fiberglass or cellulose insulation to be tucked around it without overheating the driver. Non-IC fixtures require 3 inches of clearance, which wastes attic space and thermal performance. The marking is usually on the fixture label.
Verify dimmable or non-dimmable. Most canless fixtures are compatible with standard dimmers, but some budget models aren’t. If you’re wiring into an existing dimmer circuit, confirm compatibility, this prevents flickering or buzzing.
Check the warranty (typically 3–5 years for drivers) and whether the fixture can be retrofit into existing 4 inch holes. Some old recessed cans used different trim diameters, so measure before ordering. Finally, confirm your local electrician is familiar with canless installation, or review the manufacturer’s wiring diagram yourself: most use straightforward 120V or 277V connections depending on your panel voltage.
Installation, Maintenance, and Best Practices
Before You Start
Turn off the circuit at the breaker and verify power is off with a non-contact voltage tester. Ceiling work always comes first, never energize a fixture while you’re on a ladder. If you’re replacing an old recessed fixture, cut power, remove the existing trim and can, and cap off the old electrical box with a wire nut and electrical tape. If you’re installing new, run 14-gauge or 12-gauge Romex cable (depending on circuit amperage) from the breaker panel or a junction box, following NEC guidelines for ceiling cavity support.
Installation Steps
-
Cut the drywall opening to the manufacturer’s spec, typically 4.5 inches diameter for a 4 inch trim. Use a drywall saw or oscillating multi-tool with a drywall blade: avoid punching through blindly.
-
Secure the fixture housing between joists using the mounting brackets included with the unit. These typically use nails or screws to lock onto the joist flanges. Check that the housing sits level and flush with the ceiling plane.
-
Run power to the fixture. Most canless lights use a quick-connect terminal block or pre-installed connector. Strip about 1/2 inch of insulation from your romex cable, insert the black (hot) and white (neutral) wires into the terminal, and tighten the screws. Attach the ground wire to the green screw or ground lug.
-
Insert the trim ring and lens into the housing opening. Most push or snap into place: no tools needed. Ensure the trim sits flush against the drywall.
-
Restore power and test. The fixture should illuminate immediately: no warm-up time like fluorescents.
Maintenance and Longevity
Canless fixtures are nearly maintenance-free. Dust the lens gently with a dry cloth every 6–12 months: avoid abrasive cleaners or excessive moisture. If a fixture flickers or dims unexpectedly, check the dimmer compatibility and confirm the driver isn’t overheated (ensure airflow and proper IC clearance in the attic). Most LED drivers outlast their trim rings, so replacing a failed unit is straightforward, usually you swap the housing while keeping the trim.
Safety reminder: Wear safety glasses when cutting drywall overhead, and use a dust mask to avoid inhaling drywall particles. If you’re not confident running electrical wire or connecting to your breaker panel, hire a licensed electrician: the labor cost is worth avoiding a fire hazard.
Conclusion
4 inch canless recessed lighting represents a practical evolution in residential illumination. They’re energy-efficient, faster to install than traditional cans, and deliver a polished appearance that complements modern interiors. By choosing the right color temperature and brightness for each room, confirming IC-rating for your attic, and following manufacturer wiring guidelines, you’ll get years of flicker-free, low-maintenance performance. Whether you’re lighting a kitchen renovation or a full-home remodel, canless fixtures deserve serious consideration in your design and budget.