
3 inch recessed lighting has become the go-to choice for homeowners and DIYers looking for clean, modern illumination without the visual bulk of larger fixtures. Whether updating a kitchen, bathroom, or finished basement, these compact lights blend seamlessly into ceilings while delivering focused light where it’s needed. This guide walks through everything from choosing the right fixture type to nailing the installation, helping readers understand why 3 inch LED recessed lighting is often the smartest choice for contemporary spaces.
Table of Contents
ToggleKey Takeaways
- 3 inch recessed lighting offers a clean, modern aesthetic with a 3-inch trim diameter that blends seamlessly into ceilings while delivering 600–900 lumens per LED fixture.
- Choose between fixed trims for straightforward installation or adjustable gimbal trims (at $15–$30 more per fixture) to direct light toward artwork or task areas after ceiling installation.
- Plan your layout with 4–6 foot spacing in a grid pattern, use spring-loaded clips to insert housings flush against drywall, and run electrical cable 6 inches away from live circuits to prevent fire hazards.
- LED technology dominates 3 inch recessed lighting because a 10W LED produces the same output as a 65W incandescent while saving hundreds in energy costs over 25,000+ hours of use.
- Select 3000K color temperature for warm living spaces or 4000K for kitchens and bathrooms; avoid 5000K+ for residential areas as it creates an office-like appearance that causes eye strain.
- In kitchens, install one fixture per 15–20 square feet plus a denser accent layer over islands, while in bathrooms use moisture-resistant housings spaced 4–5 feet apart to avoid mirror shadows.
What Is 3 Inch Recessed Lighting and Why It Matters
A 3 inch recessed light refers to the trim diameter, the visible ring that sits flush with the ceiling. The fixture itself (called a housing) mounts above the drywall in the ceiling cavity, with wiring run from the attic or wall space. These lights are smaller and less obtrusive than 4 or 5 inch options, making them ideal for rooms with limited headroom, tight layouts, or spaces where aesthetics demand minimal visual intrusion.
The appeal comes down to proportion. In kitchens with 8-foot ceilings or bathrooms with angled walls, oversized recessed lights look clunky. A 3 inch trim keeps lines clean and modern while still pushing enough light (typically 600–900 lumens per fixture in LED form) to handle task lighting and general ambiance. Because they’re compact, homeowners can space them closer together or in tighter grids, creating uniform, layered lighting without the expense and complexity of fewer, larger units.
Types and Styles of 3 Inch Recessed Lights
Fixed and Adjustable Options
Fixed trim sits perpendicular to the ceiling, the beam points straight down. This works for general ambient lighting in open floor plans or where light distribution is predictable. Installation is straightforward: housing mounts, trim clips in place, and wiring connects to the bulb or driver. Fixed housings are the least expensive and quickest to install.
Adjustable (or gimbal) trim tilts up to 30 degrees, letting you aim light at a wall, artwork, or task area after the ceiling is finished. This flexibility is worth the extra cost ($15–$30 more per fixture) in kitchens where accents over an island or under-cabinet prep zones need directional light. The trade-off: adjustable mechanisms wear slightly faster and may rattle if bumped during installation.
Smart and Dimmable Variants
Dimmable LED fixtures pair with standard dimmer switches or smart home systems. A 0–10V dimmer (hardwired) offers the smoothest dimming and integrates with many commercial and residential systems. Lutron, Philips, and other manufacturers make compatible dimmers that prevent flickering common in cheaper LED setups. Budget an extra $20–$40 per fixture for dimmable drivers (the device that regulates power to the LED).
Smart-enabled 3 inch lights (via Wi-Fi or Zigbee) let homeowners adjust brightness and sometimes color temperature from a phone or voice command. These range from $40 to $100 per fixture and require a compatible hub (Amazon Alexa, Google Home, or a dedicated system). For a modest kitchen, smart lights aren’t essential, but in master baths or multi-room layouts, they add convenience without bulk.
Installation Tips and Best Practices
Before cutting holes or running wire, plan the layout. Mark stud locations with a stud finder and identify electrical boxes, joists, and obstructions in the ceiling cavity using a ceiling probe or by checking from the attic. A spacing of 4 to 6 feet apart in a grid pattern is standard: tighter spacing (3–4 feet) creates brighter, more uniform light in kitchens.
Cut holes with a drywall saw or hole saw bit (use the template that came with the housing to mark 3¼-inch holes, the actual opening diameter). Wear safety glasses and a dust mask: drywall dust gets everywhere. Run electrical cable (14 AWG for 15-amp circuits, 12 AWG for 20-amp, check your home’s circuit capacity) through the ceiling cavity before installing housings. Rough-in the wiring to a central junction box or existing light circuit. Never run wiring directly behind a recessed housing on a live circuit: run it 6 inches to the side or above.
Inserting the housing is the critical step. Spring-loaded clips on the sides grip the drywall from below. Gently push the housing up and wiggle it until the flange sits flush against the drywall, don’t overtighten or you’ll crush the drywall edge. Connect the 14/2 or 12/2 cable to the housing’s built-in junction box using a wire nut or terminal block. Double-check all connections: loose wires are a fire hazard.
After drywall tape, mud, and primer, snap the trim ring into clips. Most trims are spring-loaded and seat with a soft click. Install LED bulbs or drivers (consult the housing manual, some have integrated drivers, others accept standard E26 screw-in bulbs). Use 90+ CRI (Color Rendering Index) 3000K or 4000K LEDs for warm or neutral light: they’ll age your finishes more naturally than cheaper 5000K units.
Final check: flip breakers on and test every fixture before calling the job done. If a light flickers or doesn’t power up, assume a wiring error, don’t ignore it.
Design Applications and Room Placement
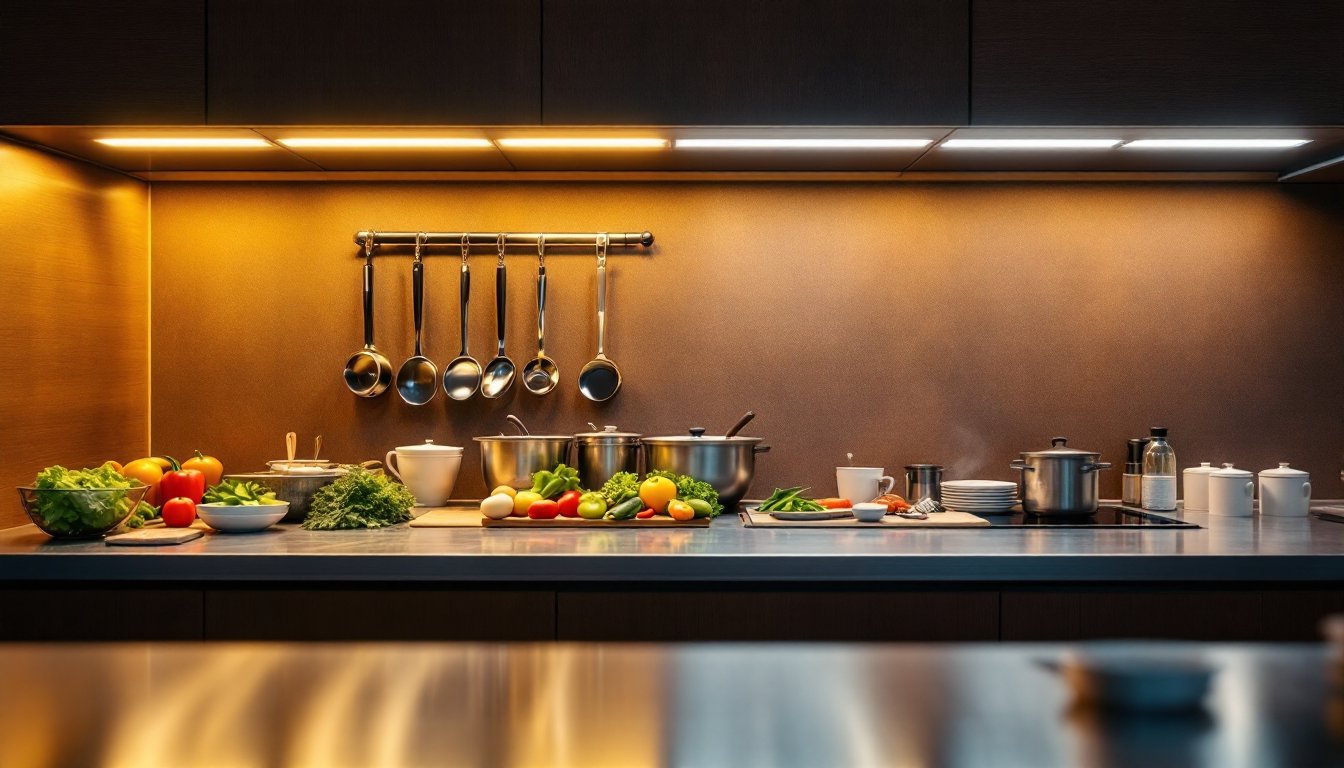
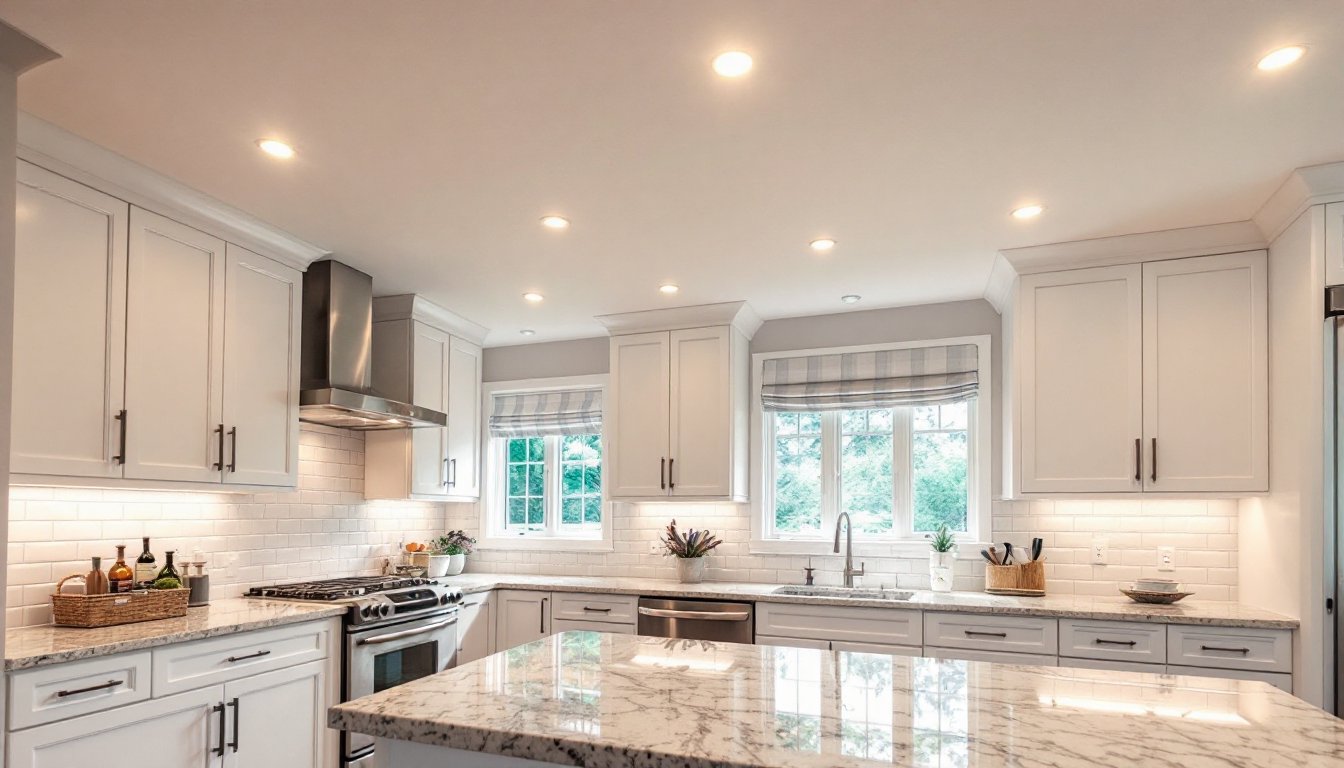
In kitchens, 3 inch recessed lighting shines (literally). Install one per 15–20 square feet across the main workspace, then add a second, denser layer of accent fixtures over an island or sink. Pair them with 3 inch LED recessed lighting under cabinets for task illumination. Total kitchen lighting often combines 8–12 recessed fixtures with under-cabinet strips for layered, flicker-free work zones.
Bathrooms benefit from moisture-resistant housings (sealed against steam from showers). Spacing them 4–5 feet apart in a linear pattern down the center of the room avoids harsh shadows around mirrors. Combine recessed lights with a dedicated vanity fixture for shadow-free grooming.
In bedrooms and living rooms, spread 3 inch lights further apart (6–8 feet) and pair them with wall sconces or floor lamps for ambiance. A single recessed light in a small bedroom closet or hallway is enough: over-lighting feels institutional. In basements, tighter spacing (4 feet) compensates for lower perceived brightness in windowless spaces.
Sloped or cathedral ceilings present challenges: angled housings exist, but they’re pricier and harder to find. Standard 3 inch housings work best on flat ceilings. If you have cathedral ceilings, consider recessed lights on the flat sections and track lighting or pendant fixtures on slopes.
Energy Efficiency and Lighting Technology
LED dominates modern recessed lighting, and for good reason. A 10W LED 3 inch fixture produces the same light (600–700 lumens) as an old 65W incandescent but costs pennies to run. Over a fixture’s 25,000+ hour lifespan, LED saves hundreds in energy and bulb replacement.
Efficacy (lumens per watt) is the metric that matters. Aim for fixtures rated 90+ lumens per watt: cheaper units deliver 70–80 lm/W and fade faster. Most quality LED drivers and bulbs come with 5–10 year warranties, so buy from established manufacturers like Philips, Sylvania, or GE if longevity matters.
Dimmable LEDs require compatible drivers. A standard non-dimmable LED on a dimmer switch will flicker or fail prematurely. Check the fixture specs before buying and confirm your dimmer is LED-compatible: older incandescent dimmers often aren’t. The slight cost premium ($10–$25 per fixture) pays off in reliability and ambiance control.
Color temperature affects mood and perception. 3000K (warm white) suits living areas and bedrooms: 4000K (neutral white) works in kitchens and baths. Avoid ultra-bright 5000K+ for living spaces, it looks like an office and leaves people squinting. For basements and workshops, 5000K is acceptable if you’re focused on task clarity.