
Hardwired under cabinet puck lighting transforms a kitchen or bathroom from dimly lit and dated to bright and functional. Unlike plug-in strip lights that gather dust and fail after a few years, hardwired systems integrate cleanly into cabinetry, provide consistent illumination, and eliminate dangling cords. This guide walks DIYers through planning, material selection, and installation of under cabinet puck lighting. Whether starting from scratch or upgrading existing fixtures, understanding wiring basics, code compliance, and proper spacing ensures a professional result that adds both utility and resale value.
Table of Contents
ToggleKey Takeaways
- Hardwired under cabinet puck lighting eliminates shadows and provides consistent task lighting for kitchens and bathrooms, delivering both functional and aesthetic upgrades without plug-in cords or frequent bulb replacements.
- LED puck lights consume only 5–10 watts per fixture and last 25,000–50,000 hours, resulting in significant long-term energy savings and reduced maintenance compared to incandescent or adhesive-strip alternatives.
- Proper planning includes measuring cabinet runs (typically one fixture per 18–24 inches), identifying obstructions, and marking wire routes to ensure balanced illumination and avoid costly installation errors.
- Hardwired puck light installation requires following electrical code, using correct wire gauges (12/2 or 14/2 NM cable), securing connections with wire nuts, and installing accessible junction boxes for safety and future service.
- Select fixtures based on color temperature (2700K for warm residential kitchens, 4000K–5000K for task-focused spaces) and build quality, ensuring aluminum or die-cast housing and IP54+ ratings for moisture resistance.
- Consulting or hiring a licensed electrician is recommended if you’re unfamiliar with electrical work, as code compliance, proper grounding, and secure connections are critical to prevent fire hazards and ensure long-term performance.
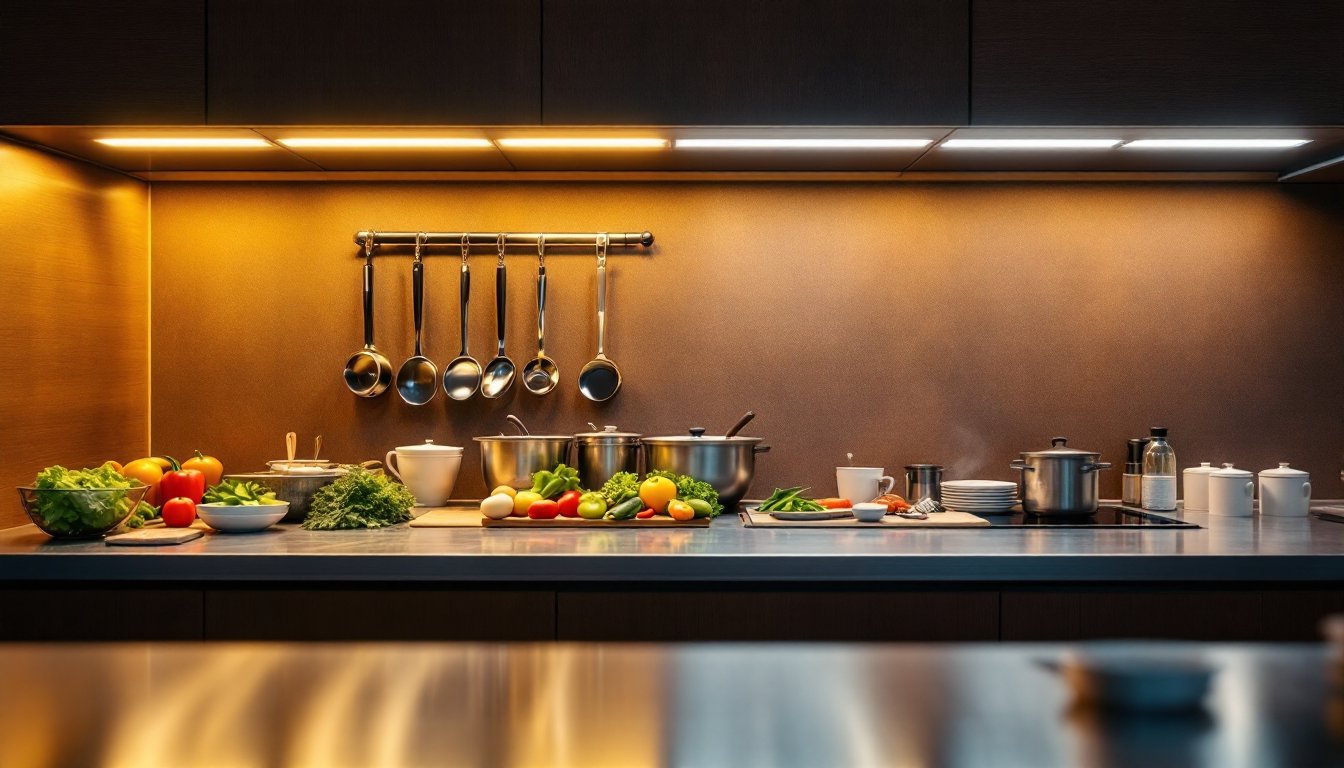
What Is Hardwired Under Cabinet Puck Lighting?
Hardwired under cabinet puck lighting consists of small, circular LED fixtures, typically 2 to 3 inches in diameter, wired directly into household electrical circuits. Unlike battery-powered or adhesive-strip options, hardwired systems connect to a dedicated 15-amp or 20-amp circuit (depending on load), offering consistent power and brightness without intermittent failures or replacement hassles.
These fixtures sit flush against the underside of upper cabinets, casting light downward onto countertops. Most modern units are LED, delivering 2700K to 5000K color temperature options (warm white to cool daylight). The wiring runs through cabinet frames or walls, hidden from view, creating a clean, integrated appearance.
Hardwired systems differ fundamentally from surface-mounted puck lights or plug-in strips. They’re permanently installed, requiring a bit more upfront work but paying dividends in durability, light consistency, and aesthetics. Many models include dimmer compatibility, allowing users to adjust brightness without replacing bulbs or rewiring.
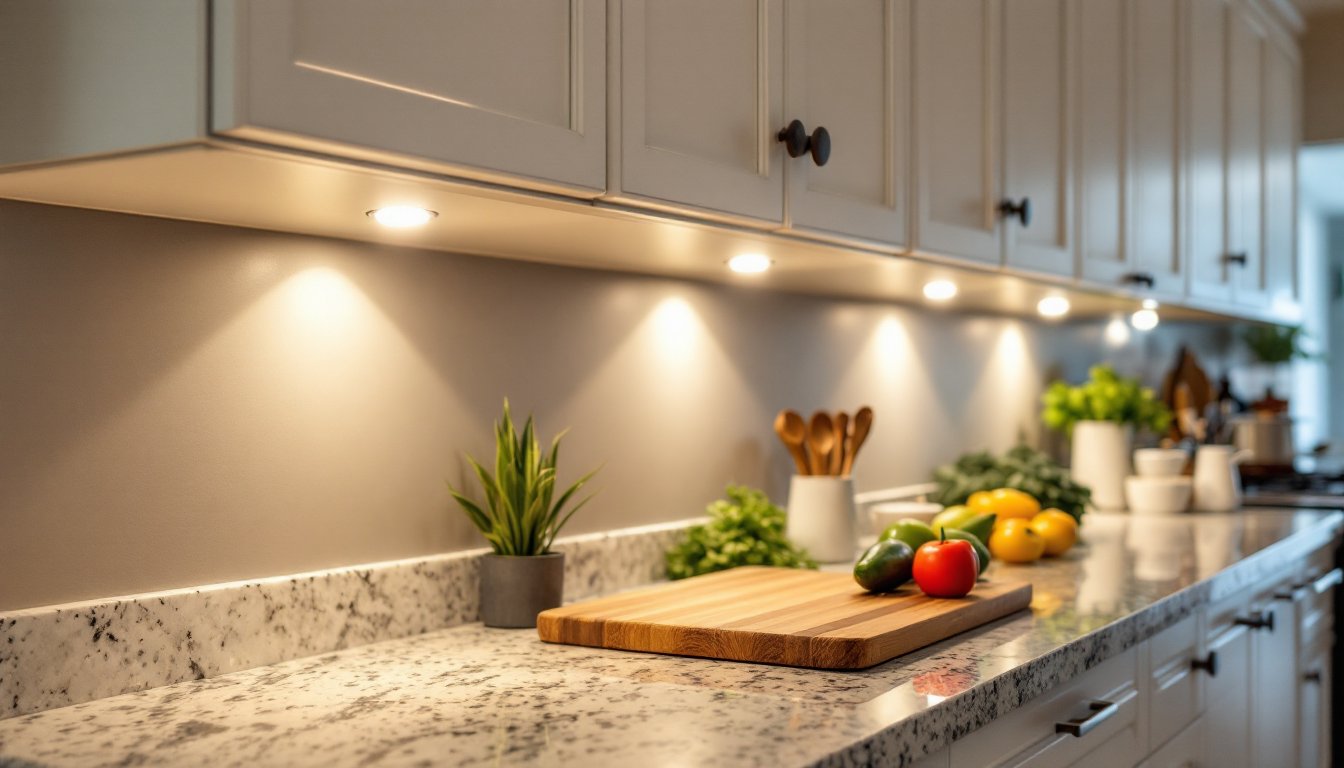
Key Benefits of Installing Puck Lights
Hardwired under cabinet lighting eliminates dark zones on countertops where overhead fixtures cast shadows. Task lighting directly illuminates prep areas, making chopping, reading recipes, and detailed work safer and easier. Users report fewer eye-strain complaints and better visibility when cooking or cleaning.
LED puck lights consume 5–10 watts per fixture, far less than incandescent or halogen equivalents. Over a 10-year lifespan, energy savings compound significantly. LED units typically last 25,000–50,000 hours, eliminating frequent bulb replacements and the associated cost and hassle.
From a resale and design standpoint, integrated under-cabinet lighting adds perceived value. Buyers view it as a premium upgrade, not a retrofit. The fixtures modernize dated kitchens without full renovation expense. Dimmer-compatible models add flexibility for entertaining or adjusting ambiance throughout the day.
Planning Your Installation
Assessing Your Cabinet Layout
Begin by measuring the width of cabinet runs and identifying where fixtures should sit. Standard spacing is one fixture per 18–24 inches of counter width, though preference and kitchen layout vary. A 30-inch stretch might use one or two fixtures: a 48-inch span typically needs two or three.
Inspect the underside of cabinets for obstructions, shelves, screws, or interior bracing. Mark stud locations on walls below (using a stud finder) where wiring will run. Check for existing electrical boxes or plumbing that might complicate routing. Document any areas where fixtures must avoid drawer handles or appliance tops.
Measure from the cabinet’s front edge rearward: puck lights usually sit 1–2 inches back, allowing light to spread evenly. Sketch a rough layout on paper, noting fixture centers and planned wire routes. This prevents costly mistakes and ensures balanced illumination.
Choosing the Right Puck Light Style
LED puck lights come in fixed or dimmable versions. Dimmable units (typically 3–8 watts each) integrate with standard wall-mounted dimmer switches, offering ambient control at minimal extra cost. Fixed-output models lack dimming but are often slightly cheaper and simpler to install.
Color temperature matters. 2700K (warm white) mimics incandescent, suits residential kitchens, and flatters skin tones. 3000K (soft white) splits the difference. 4000K–5000K (cool/daylight white) suits task lighting in professional settings but can feel clinical in homes. Select based on existing overhead fixtures and personal preference.
Build quality varies. Fixtures with aluminum or die-cast housing withstand moisture and heat better than plastic. Check that the lens or diffuser is tempered glass or polycarbonate, resisting damage from cabinet doors. Verify IP (Ingress Protection) ratings, at least IP54 is advisable for kitchen moisture exposure. Review product specifications for voltage (usually 12V or 120V direct) and total wattage per circuit to avoid overloads.
Installation Steps and Best Practices
Before starting, turn off power at the breaker and verify circuits are dead using a non-contact voltage tester.
Step 1: Run Electrical Wire
Route 12/2 or 14/2 NM cable (depending on fixture amperage and code requirements) from the dedicated breaker to the first fixture location. Wire can run through the wall stud cavity, along the top of cabinets, or underneath if hidden from view. Secure it every 16 inches with staples or clips, not nails, which puncture insulation. Local electrical code (typically NEC, National Electrical Code) mandates that romex be protected in walls: consult your local authority or a licensed electrician if uncertain.
Step 2: Install Junction Boxes
At each fixture location or where wires join, install a small electrical box rated for the fixture type. Boxes must remain accessible for future service, do not seal them behind cabinets. Use boxes with knockouts (pre-scored holes) that match your wire gauge and fixture connector.
Step 3: Connect Fixtures
Most puck lights use wire connectors (wire nuts) or push-in terminals to join circuit wire to fixture leads. Strip about ½ inch of insulation from each conductor. Twist black to black (hot), white to white (neutral), and connect bare copper (ground) to green or bare fixture lead. Secure connections with wire nuts, twisting clockwise until tight. Gently tug each wire, it should not pull free. Tuck excess wire neatly into the box: do not crimp or fold it sharply.
Step 4: Mount Fixtures
Mark mounting hole centers on the cabinet underside. Use a drill with appropriate bit (typically 3/32 inch for wood screws, larger if using toggles in hollow areas). Insert the fixture’s bracket or housing and secure with provided mounting screws. Ensure the fixture is level and sits flush. Rotate or adjust the lens to aim light downward and toward the work surface.
Step 5: Link Wires Between Fixtures (If Running in Series)
If multiple fixtures are daisy-chained (wire enters one fixture and exits to feed the next), use identical junction-box methods at each stop. Ensure total amperage does not exceed the circuit breaker rating. Most under-cabinet layouts on a 15-amp circuit accommodate 4–6 LED puck lights comfortably.
Step 6: Install Switch or Dimmer
Run the circuit to a wall-mounted switch or dimmer switch near a logical entry point (kitchen doorway, adjacent to main light switch). Follow the switch manufacturer’s wiring diagram. Typically, the black (hot) wire connects to the load terminal, neutral to neutral, and ground to the green screw. Secure the switch in a standard electrical box, wrap it with electrical tape if needed, and attach the faceplate.
Safety Reminders:
- Always wear safety goggles when drilling overhead. Use work gloves to avoid splinters and cuts.
- Use a non-contact voltage tester frequently during work to confirm power is off.
- If unfamiliar with electrical work, hire a licensed electrician. Mistakes cause fires or shocks.
- All connections must be code-compliant. Some jurisdictions require permits for hardwired lighting and may mandate inspection.
Finishing Touches:
Once all fixtures are mounted and wired, restore power and test each light. Cycle a dimmer switch through its range if installed. Look for uneven brightness, if one fixture seems dim, check connections. Caulk small gaps around fixture edges with clear, paintable silicone to prevent dust and insects from accumulating.
Cab doors and adjustable shelving may need minor repositioning to avoid blocking light. This is normal and part of final layout tuning.
Conclusion
Hardwired under cabinet puck lighting elevates a kitchen’s functionality and appearance without breaking the budget or requiring a full remodel. Proper planning, measuring twice, assessing obstructions, and choosing fixtures suited to the space, prevents rework. Following electrical code, using correct wire gauges, and making secure connections ensures safety and longevity. Whether installing one fixture or a full run, taking time to route wires neatly and mount units level delivers professional results. For those hesitant about electrical work, consulting or hiring a licensed electrician is a wise, code-compliant choice.