
Kitchen island lighting is one of the most impactful upgrades a homeowner can make, blending function with style. The right fixtures illuminate your workspace, set the mood, and anchor the entire kitchen design. Whether you’re updating an existing island or installing one from scratch, choosing the right lighting matters, both for task visibility over prep surfaces and for creating an inviting gathering spot. This guide walks through 11 proven kitchen island lighting ideas, each with practical trade-offs so you can match your space, budget, and aesthetic to a setup that actually works.
Table of Contents
ToggleKey Takeaways
- Kitchen island lighting ideas range from classic pendant lights spaced 24-30 inches apart to modern track lighting and statement chandeliers, each offering distinct style and function trade-offs.
- Layered lighting design—combining a primary fixture for task light, secondary ambient source, and accent lighting—delivers the most professional and flexible result.
- Pendant lights should hang 30-36 inches above the counter, and islands wider than 3 feet typically require multiple fixtures, while chandeliers need at least 4 feet of width to avoid looking undersized.
- Smart LED bulbs and dimmers let you adjust color temperature and brightness without rewiring, while standard LED fixtures reduce lighting costs by 75 percent compared to incandescent options.
- Always measure ceiling height, confirm solid joists or existing electrical infrastructure, and hire a licensed electrician for tasks involving new circuits, drywall cutting, or code compliance.
Pendant Lights: Classic and Versatile
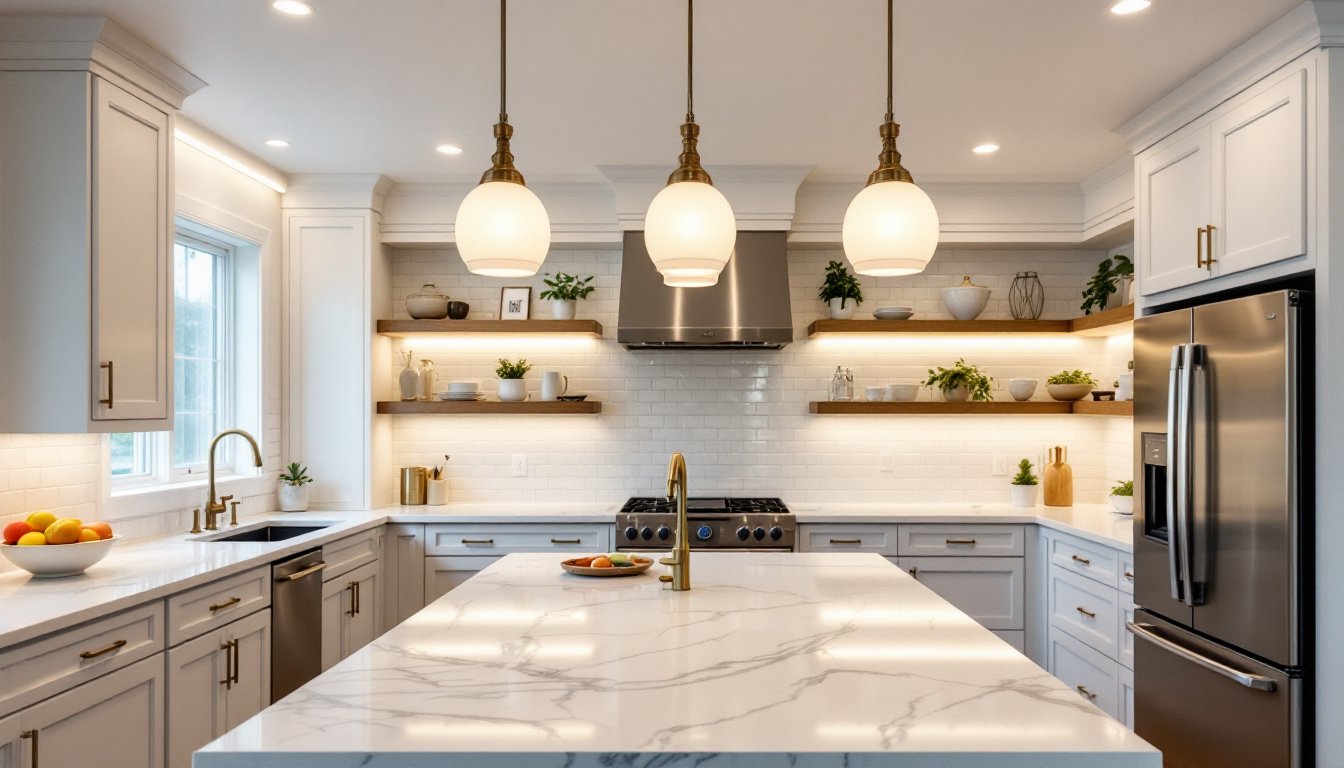
Pendant lights remain the go-to choice for island lighting, and for good reason. A pendant fixture suspends from the ceiling on a rod or chain, concentrating light downward over the countertop. Most kitchens use a series of three or four pendants spaced 24 to 30 inches apart across the island length, with the bottom of the fixture about 30 to 36 inches above the counter to avoid glare and obstructing sightlines.
Style options span industrial Edison bulbs, frosted glass, ceramic, metal, or fabric shades. Pair them with dimmable LED bulbs to shift from bright task lighting during meal prep to softer ambient light during dinner. The trade-off: they take up visual ceiling space and require precise mounting. If your island top is less than 3 feet wide, one large pendant often works better than cramming multiple fixtures. Always confirm your ceiling height and joists before committing, pendants need solid framing (a joist or reinforced crossbrace) to handle the load and hang safely.
Track Lighting: Flexibility and Modern Appeal
Track lighting mounts to the ceiling and lets you angle individual heads to pinpoint where light lands. This flexibility is a game-changer if you rearrange your kitchen or want to highlight specific zones, one head lights the prep area, another washes the backsplash, a third creates accent lighting on open shelving.
Modern track systems use low-voltage or standard LED heads and run along a single or multi-rail layout. Installation involves mounting a power supply or adapter to a joist, then hanging the track and snapping heads in place, simpler than pendant wiring if the track runs parallel to an existing ceiling fixture. The drawback: track can look utilitarian if not chosen carefully, and many DIYers find it tricky to balance multiple head angles without creating shadows. Soffit-mounted track (inside a soffit or recess) looks cleaner than surface-mounted alternatives. Budget roughly $200 to $800 depending on track length and fixture quality.
Chandeliers: Statement Pieces for Elegant Islands
A chandelier makes a bold design statement and works well for larger islands (think 4 feet or wider). Modern farmhouse, glam, or contemporary chandeliers can anchor a kitchen’s aesthetic when scale and proportions match. The fixture should be roughly one-third the island width to avoid looking undersized or overwhelming the space.
Height matters: mount the lowest point of the chandelier 24 to 30 inches above the counter, lower than standard 8-foot ceilings allow, so confirm your clearance before purchasing. Chandeliers need a solid ceiling mount (typically a threaded box on a ceiling joist) and often require a licensed electrician, especially if there’s no existing fixture above the island. Weight is another consideration: chandeliers run heavier than pendants, so the ceiling framing must support the load. If your kitchen has low ceilings or a narrow island, a chandelier risks looking cramped. Skip this option unless you have the headroom and structural support.
Under-Cabinet and Recessed Lighting: Subtle Ambiance
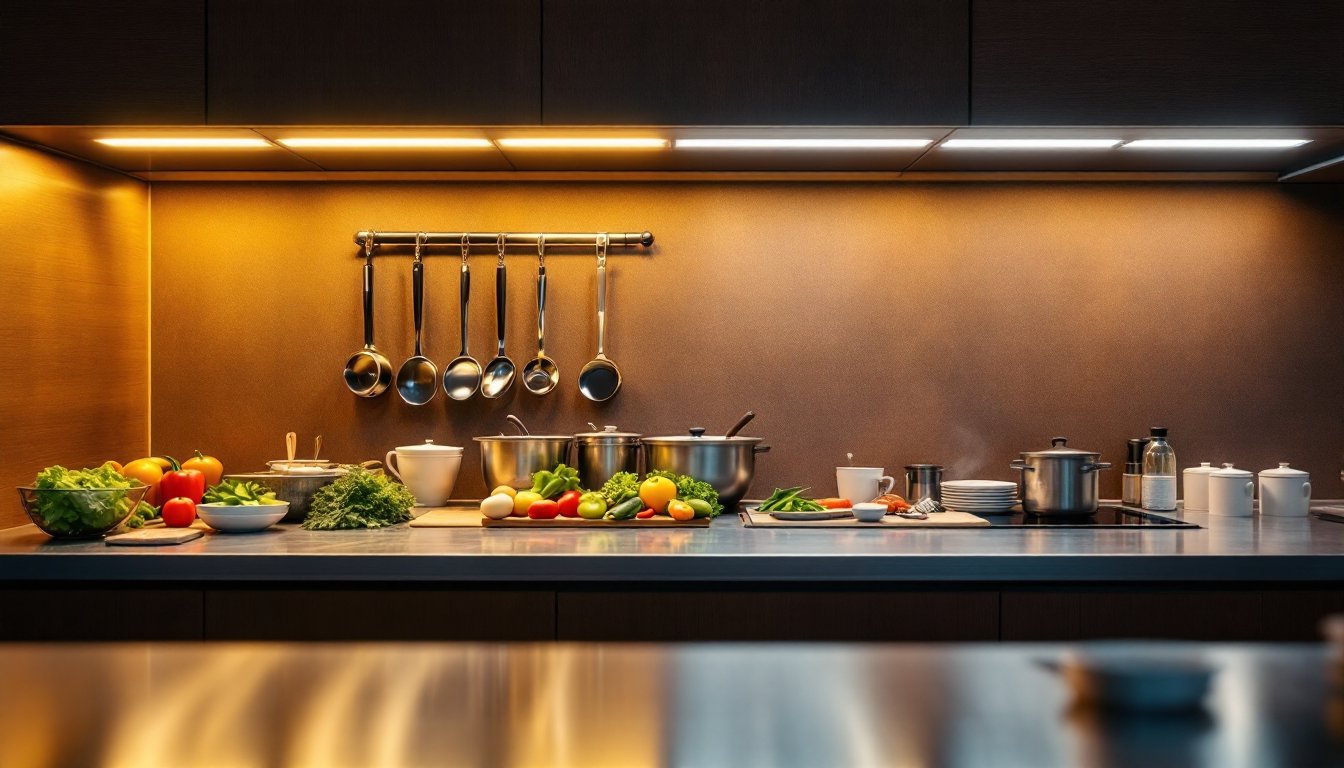
Under-cabinet LED strips mount on the underside of wall cabinets or shelves above the island and cast light downward onto the counter. Recessed lights (or cans) sit flush in the ceiling and deliver bright, shadow-free downlighting with minimal visual profile. Combined with a primary fixture like pendants, they create layered lighting, bright task light plus soft ambient glow.
Under-cabinet strips are retrofit-friendly and run around $20 to $80 per 24-inch run (plus wiring). They hide glare and add a modern, sophisticated touch, especially in contemporary kitchens. Recessed lights integrate seamlessly but require cutting holes in the ceiling (typically 4 to 6 inches in diameter) and running wiring, a job that’s straightforward if you’re comfortable in the attic space above, but calls for a licensed electrician in tight or fire-rated ceilings. Both options work best as secondary lighting: they rarely provide enough light alone for detailed chopping or cooking.
Mixed Fixture Combinations: Layered Lighting Design
The most professional-looking kitchens use layered lighting: a primary fixture (pendants or track) for task light, a secondary ambient source (recessed, under-cabinet, or soft cans), and accent lighting (a low-voltage rail or LED strip on open shelves). This trio lets you adjust the mood and function without one fixture bearing all the work.
A practical example: three brushed-brass pendants for task lighting, four dimmable recessed lights in the ceiling on a separate dimmer, and a flexible LED strip under the floating shelf above the island. Each serves a purpose, the pendants illuminate prep, the cans provide overall brightness, and the shelf accent adds visual interest. Wiring requires running multiple circuits and installing separate dimmers for each group (code requires dimmers to control their own circuit, not a mixed load). This approach costs more upfront but delivers flexibility and a polished result that punches above a single-fixture setup.
Smart and Energy-Efficient Options
Smart LED bulbs and fixtures give you app-based dimming, color temperature adjustment (from warm 2700K to cool 5000K), and scheduling without rewiring. Brands like Philips Hue, LIFX, and standard smart bulbs work in pendant, track, and recessed fixtures. The advantage: fine-tune ambiance and shift from energetic task lighting during breakfast to warm social lighting for evening entertaining, all from your phone.
Smart fixtures still need a neutral wire at the fixture (not all older homes have this), and they require a compatible hub or Wi-Fi connection. Budget $15 to $50 per smart bulb, plus a hub if your system requires one. They’re most cost-effective in fixtures you already plan to install: retrofitting a lighting scheme solely for smart capability isn’t always worth it. Standard dimmable LED bulbs paired with a wall-mounted dimmer are simpler, cheaper, and still versatile. For energy savings alone, switching to LED from incandescent reduces lighting costs by 75 percent and eliminates heat output, crucial in a kitchen where cooking already adds warmth.
Conclusion
The best kitchen island lighting balances task visibility, aesthetic appeal, and your household’s real needs. Start by measuring your island size, ceiling height, and checking for solid joists or existing electrical above. If you need a permit or the work requires cutting drywall or running new circuits, hire a licensed electrician, it’s a safety and code requirement, not a DIY shortcut. Mix and layer fixtures for the most flexible, professional result, and always install dimmers so you control the mood.