
Outdoor lighting doesn’t have to mean higher electric bills or the hassle of manually flipping switches at dusk and dawn. A quality outdoor lighting timer automates your yard’s illumination, enhancing security, saving energy, and letting homeowners control landscape lighting from anywhere, even their phone. Whether a DIYer wants to deter intruders with motion-activated floodlights, set ambiance for entertaining, or simply reduce waste, the right timer transforms outdoor spaces. Let’s walk through what makes these devices work, how to pick one that fits your needs, and how to install it without calling an electrician.
Table of Contents
ToggleKey Takeaways
- Outdoor lighting timers enhance home security, reduce energy consumption by 20-30%, and eliminate the hassle of manually switching lights on and off at dusk and dawn.
- Mechanical timers offer affordable ($10-$25) basic automation, while digital timers ($20-$50) provide flexible scheduling, and smart timers ($30-$80) deliver WiFi-connected control and automatic daylight adjustment.
- When selecting an outdoor lighting timer, verify it matches your fixture’s amperage (typically 10-15 amps), ensure weatherproofing with IP65 rating for exposed units, and consider a daylight sensor for seasonal light changes.
- Installation takes just 10 minutes and requires no electrician: turn off power, mount the timer at a weatherproof outlet, plug in your light fixture, and set your desired schedule via the timer’s interface.
- Smart timers with built-in light sensors automatically adjust to seasonal shifts and integrate with voice assistants and home automation systems, eliminating the need for manual schedule adjustments throughout the year.
What Are Outdoor Lighting Timers and Why You Need One
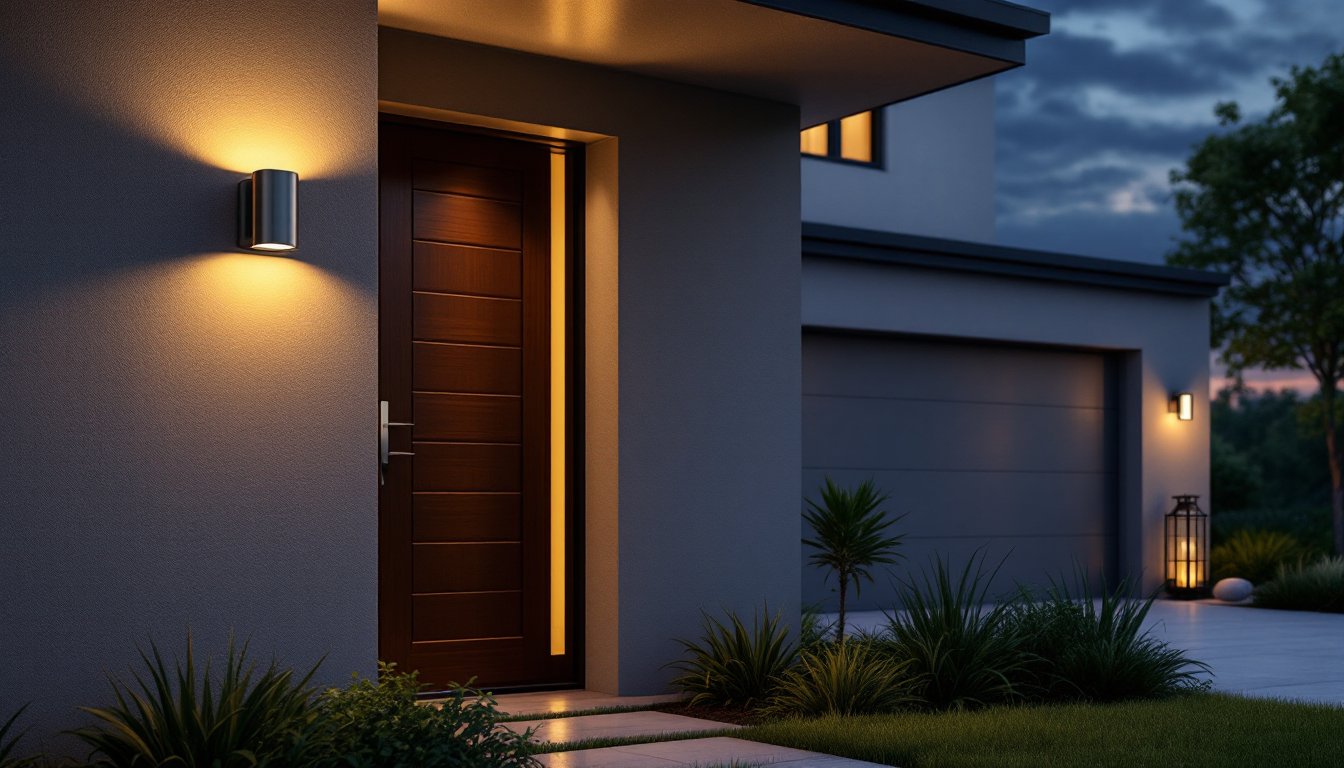
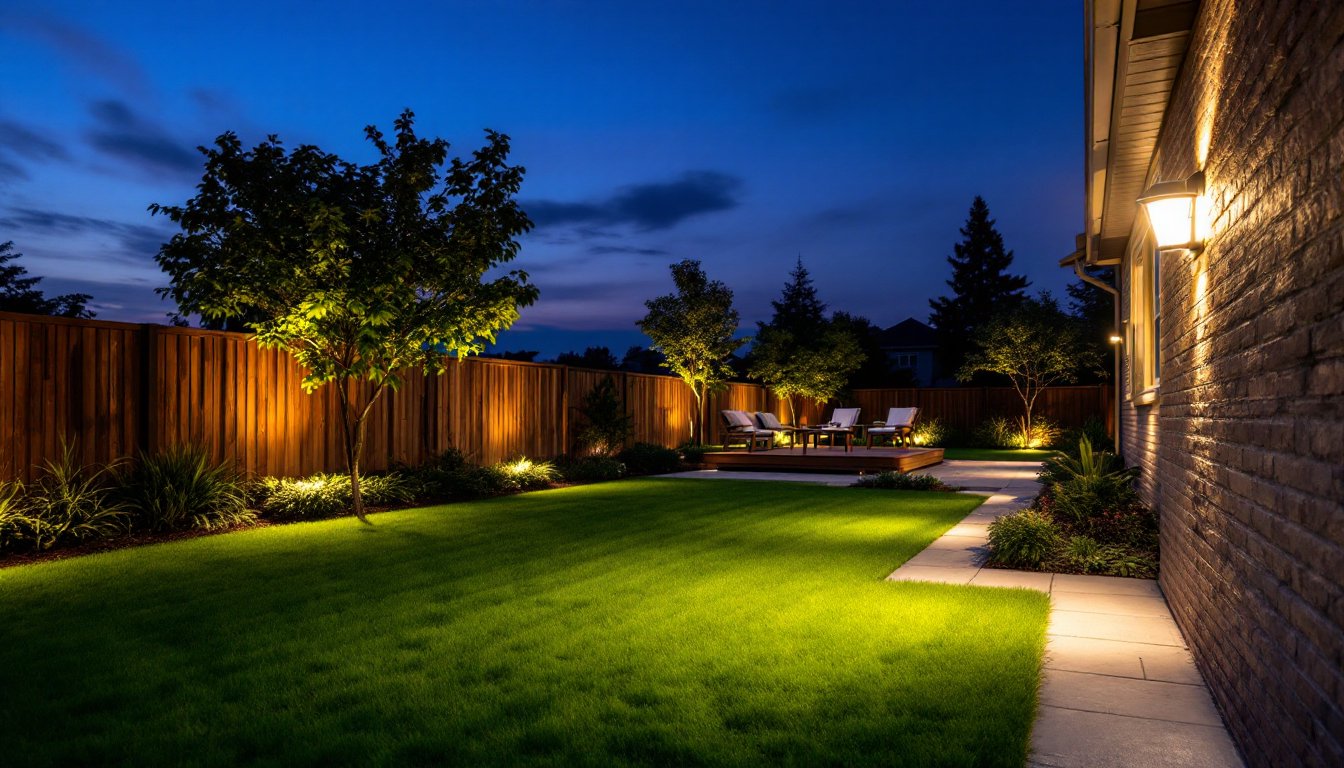
An outdoor lighting timer is a device that automatically switches lights on and off at set times. Think of it as a reliable stand-in that ensures your porch, deck, or landscape lights activate at dusk and power down when you’re asleep, no manual intervention required.
The practical benefits are substantial. Security is the first advantage: timers make a home look occupied even when you’re away, which deters opportunistic burglars. Homeowners typically see lights click on when the neighborhood grows dark, creating a lived-in appearance. Energy savings come next. Instead of forgetting outdoor lights are running all night, a timer ensures they operate only during useful hours. Many households report 20–30% drops in outdoor lighting electricity use after installing a timer. Convenience matters too. If you’re enjoying dinner on the patio, you don’t want to leave the table to turn on accent lights or worry about switching them off before bed. A timer removes that friction entirely.
Types of Outdoor Lighting Timers
Mechanical Timers
Mechanical timers are the simplest and most affordable option. They use a rotating dial with small pins or tabs you push in to set on/off times. When the dial rotates (typically over a 24-hour cycle), it trips a switch at the pin locations. Most rotate in 15-minute increments, so precision isn’t tight, you can schedule lights to turn on around sunset, not at 6:47 p.m. exactly.
Mechanical timers cost $10–$25 and require no batteries, WiFi, or apps. They plug directly into an outlet, then your light fixture plugs into the timer. They’re durable, low-maintenance, and ideal for basic on/off cycles. The trade-off: they can’t track actual sunset times, so you’ll adjust pins seasonally as daylight hours shift. They also lack remote control or automation beyond the preset schedule.
Digital and Smart Timers
Digital timers offer more flexibility. These battery-backed devices display a digital clock and let you program multiple on/off cycles per day, often in 1-minute increments. You can set your front lights to activate at 6:00 p.m. and your side path lights at 7:30 p.m., each on its own schedule. Most cost $20–$50 and use standard AA or AAA batteries (replacing them annually or every two years, depending on usage).
Smart timers are the newest category. Connected to your home WiFi, they let you control lights via smartphone app, voice command (Alexa, Google Home), or automation routines. Many include daylight sensors that adjust schedules automatically as seasons change, so your lights turn on when it’s actually dark, not at a fixed time. Some detect motion or occupancy, turning lights on only when needed. Smart timers typically cost $30–$80 and often integrate with broader home automation systems. They require a stable WiFi connection and occasional app or firmware updates, but the convenience and energy savings justify the cost for many homeowners. A few models include weatherproof outdoor-rated receivers, eliminating the need to plug timers into an outlet on a deck or patio, they mount directly to the fixture or junction box.
Key Features to Look For When Choosing a Timer
Outlet Type and Rating: Check whether the timer is grounded (three-prong) and rated for the amperage your lights draw. Most outdoor lights pull 10–15 amps, but verify your fixture’s specs. Overloading a timer can damage it or create a fire hazard. An outlet timer designed for standard 15-amp circuits works for most residential setups: if you’re running high-powered floodlights or multiple fixtures, look for a heavy-duty model rated for 20 amps.
Weatherproofing: Any timer exposed to rain, dust, or humidity needs a weatherproof housing. Look for an IP65 rating (dustproof and water-jet resistant) or better. Timers housed in plastic enclosures are fine if mounted under an eave: exposed timers should be GFCI-protected (ground-fault circuit interrupter) and rated for outdoor use. If in doubt, mount the timer indoors near an outlet and run a heavy-duty outdoor extension cord to your lights.
Daylight Sensor (Astronomical Clock): Smart timers with built-in light sensors or astronomical clocks automatically adjust schedules based on sunset and sunrise times in your zip code. This eliminates the seasonal dial-twisting that mechanical timers require. If you’re in a climate with dramatic seasonal light changes, this feature is worth the extra $15–$20.
Multiple Schedules: Can you set different on/off times for weekdays and weekends? Or separate schedules for different fixtures? More flexibility costs slightly more but lets you match your actual lifestyle, evening entertaining on weekends versus early lights for commuter mornings.
Backup Battery: Digital and smart timers should retain their settings during power outages. A super-capacitor or lithium backup keeps your schedule stored even if AC power drops for hours. Budget models sometimes skip this, so check the specs before buying.
Installation and Setup Tips
Installation is straightforward for most homeowners and rarely requires a permit, timers are simple control devices, not structural or high-voltage work.
1. Turn off power: Flip the breaker controlling your outdoor outlet or light circuit. Test the outlet with a non-contact voltage tester to confirm power is off. This step prevents shocks and is non-negotiable for safety.
2. Choose your location: Mount the timer on a weatherproof outlet close to the lights you’re controlling. If your patio outlet is exposed, install the timer indoors and run a 14 AWG outdoor-rated extension cord (rated for wet locations) to the fixture. Never use a standard indoor cord outside, UV and moisture degrade it within months.
3. Plug in the timer: Insert the timer firmly into the outlet. If using an extension cord, plug the cord into the outlet first, then the timer into the cord. For outdoor-mounted units, hand-tighten the gasket seal to ensure water doesn’t seep into electrical connections.
4. Plug in your light: Connect your light fixture or fixture cord to the timer’s outlet. If controlling multiple lights, a heavy-duty power strip rated for outdoor use plugs into the timer, then lights plug into the strip. This avoids overloading the timer’s single outlet.
5. Set the schedule: Read the timer’s manual carefully, each model has a slightly different interface. For mechanical timers, push in the pins or tabs corresponding to on/off times (typically 24-hour cycles). For digital timers, use the buttons or keypad to program times: most allow you to set multiple events. For smart timers, download the app, connect to WiFi, and configure schedules from your phone. Test the schedule: let it run through a cycle to confirm lights turn on and off as programmed.
6. Adjust for daylight: If using a mechanical timer, mark the current on/off times on a calendar. In late autumn and early spring, when sunrise and sunset shift dramatically, revisit and adjust the pins so lights align with actual darkness. Smart timers with daylight sensors skip this step entirely.
Conclusion
Outdoor lighting timers deliver real returns, tighter security, lower bills, and hands-free convenience. A mechanical timer suits basic on/off schedules on a budget: digital timers add flexibility for less than $50: smart timers integrate with modern homes and adjust automatically for seasonal shifts. Installation is a 10-minute job requiring only a voltage tester and the timer itself. Choose a timer matched to your lights’ amperage, ensure outdoor units are weatherproofed, and you’ll enjoy a well-lit yard without the overhead or worry.