
Adding light under kitchen cabinets transforms both function and ambiance, no wall surgery required. Battery under cabinet lighting skips the electrician visit and the chase for outlets, making it perfect for rental kitchens, quick upgrades, or homes where running wiring isn’t practical. Modern battery-powered options deliver serious brightness, last for months on a single charge, and install in under an hour with nothing but an adhesive strip. Whether someone’s updating a galley kitchen or filling dark shadows above the countertop, cord-free under cabinet lights offer flexibility and genuine utility without the fuss.
Table of Contents
ToggleKey Takeaways
- Battery under cabinet lighting eliminates the need for electrical work, drywall cutting, and permits, making it ideal for rental kitchens and quick upgrades with installation taking under an hour.
- Modern LED battery-powered models deliver 200–500 lumens with rechargeable batteries lasting 6–12 months, solving the outdated dimness problem while remaining renter-friendly and flexible.
- LED strip lights work best for task lighting across full counters, while puck lights excel at accent lighting and filling specific shadow spots with individual brightness control.
- Proper surface preparation with rubbing alcohol and drywall degreaser is critical for adhesive-backed systems; press firmly for 30 seconds and allow recommended curing time before powering on.
- Choose between task lighting (strips, 200+ lumens per linear foot) and ambient mood lighting (pucks, 100–150 lumens) based on kitchen purpose, then measure cabinet depth, clearance, and surface texture to select the right battery under cabinet lighting solution.
- Quality dimmable models with warm or cool white temperature options offer better long-term value than RGB novelty fixtures, and heavy-duty 3M outdoor mounting strips serve as reliable adhesive backups.
Why Battery-Powered Under Cabinet Lights Are Game-Changers
Battery-operated under cabinet lights solve real problems. They eliminate the need for running electrical lines, cutting drywall, patching, and pulling permits, tasks that can turn a weekend project into a month-long headache. Installation takes minutes: clean the surface, peel the backing, and press the light into place.
They’re also renter-friendly. Tenants can add task lighting without angering landlords or losing security deposits. And they work in older homes where adding circuits is cost-prohibitive or in kitchens where outlet placement just isn’t convenient.
Modern LED battery lights have solved the old dimness problem too. Today’s models deliver 200–500 lumens (enough to read by or prep food clearly) from compact housings. Rechargeable batteries last 6–12 months between charges depending on usage, and many systems include USB charging cables that work with any standard adapter.
Finally, they’re forgiving. No permanent installation means experimenting with placement is risk-free. If the light position doesn’t work or mood lighting preferences change, moving it takes seconds.
Types of Battery Under Cabinet Lighting Options
LED Strip Lights
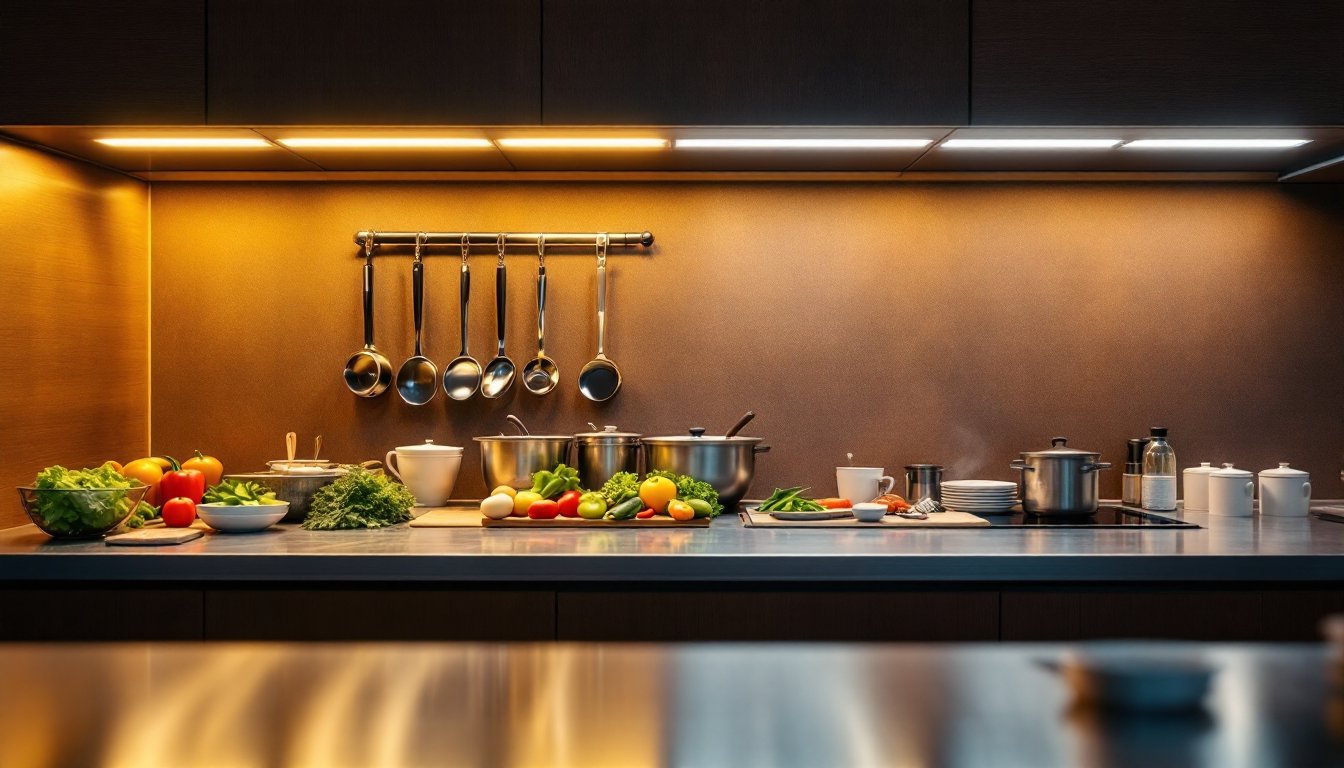
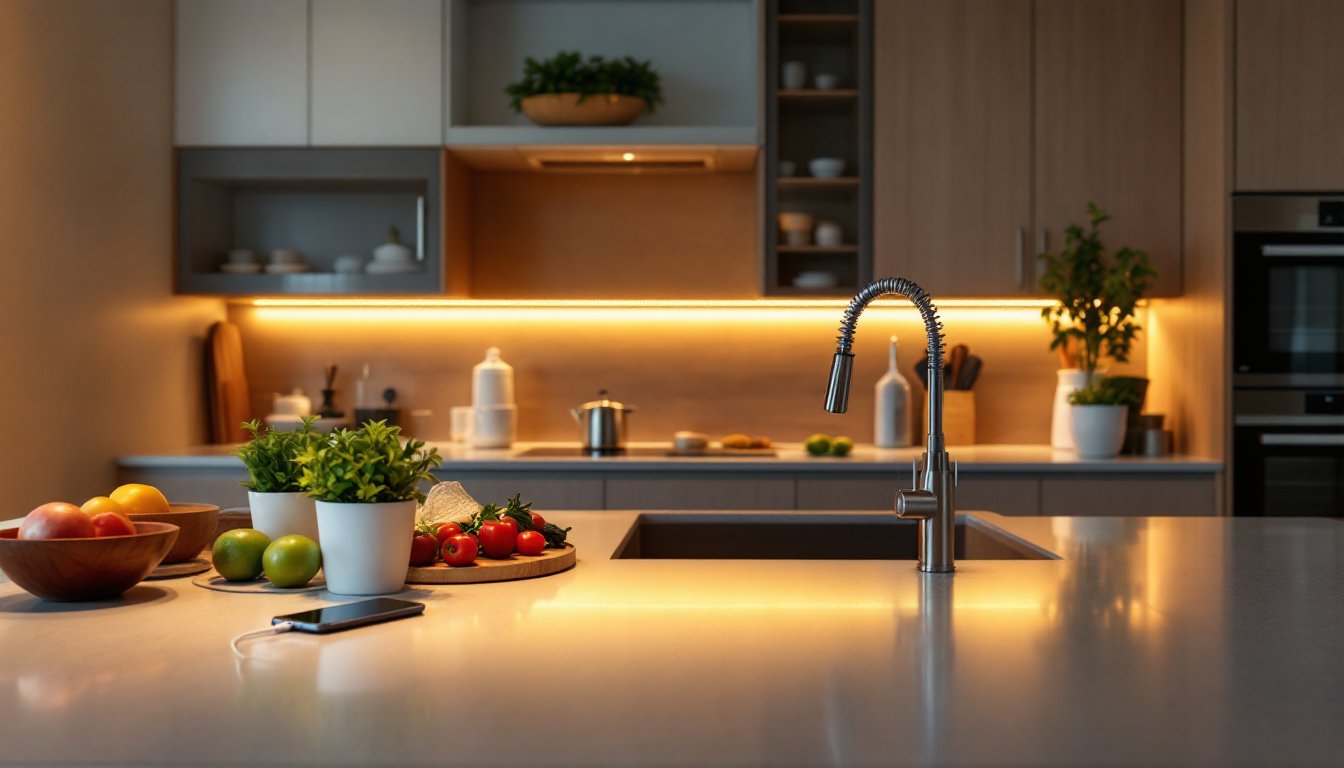
LED strip lights are the workhorses of battery-powered under cabinet setups. These flexible ribbons of diodes mount in a continuous line along the front edge of cabinetry, delivering broad, even illumination across the entire countertop.
Strips come in two main flavors: adhesive-backed (peel and stick) and track-mounted. Adhesive strips are faster to install and leave no scars if removed, but they depend on surface cleanliness, any dust or grease weakens adhesion. Wipe cabinets with rubbing alcohol and let them dry fully before applying. Track-mounted strips offer more security for heavyweight installations and allow adjustments, though they require small fasteners.
Battery strips typically offer lengths of 16 inches to 4+ feet and come in warm white (2700K–3000K, cozy feel), cool white (4000K–5000K, clinical clarity), or RGB models that cycle through colors. For kitchen work areas, warm or cool white outperform color-changing options, RGB strips are fun but impractical for actually seeing what you’re chopping.
Expect to pay $30–$80 for a quality adhesive strip with a rechargeable battery module. Cheaper units fade fast or have inconsistent brightness: investing in a recognizable brand pays dividends.
Puck Lights and Accent Fixtures
Puck lights are individual, round fixtures roughly the size of a hockey puck (hence the name). They’re ideal for accent lighting, highlighting a backsplash, or filling a specific shadow spot rather than illuminating an entire counter.
Puck lights mount via adhesive pads or small magnetic bases and are often installed in clusters of 3–6 for balanced light. A single puck usually runs 100–200 lumens, adequate for ambient light or a focal point but not for serious task lighting. Their small size makes them perfect for narrow shelves, glass-front cabinets, or alcove lighting.
Many puck lights come with wireless remote controls, letting users toggle brightness or color temperature from across the room. Some even sync across multiple units with a single remote, creating a coordinated effect. Battery life per puck ranges from 3–8 months, depending on usage frequency and the lumen output.
Puck lights run $15–$40 per unit, with prices climbing for RGB or dimmable models. For visual drama or creative flexibility, they’re superior to strips, but for functional task lighting across a full counter, strips deliver better value.
How to Choose the Right System for Your Kitchen
Start by identifying purpose. Is the goal task lighting for food prep (strips, high lumens), ambient mood lighting (pucks, dimmable options), or both? Task lighting demands 200+ lumens per linear foot: ambiance can work with 100–150.
Measure cabinet depth and counter dimensions carefully. An under-cabinet light only works if it actually fits under the cabinet without interfering with appliances or backsplash trim. Nominal cabinet depth is typically 12–15 inches, but verify before ordering. Also note ceiling height and cabinet-to-counter clearance, some fixtures protrude 1–2 inches downward.
Assess battery life against real usage. If the kitchen sees heavy evening cooking, opt for longer-lasting rechargeable systems. If lights stay on 2–3 hours daily, most midrange batteries last 8–10 months. Check whether the manufacturer specifies battery life: vague claims (“lasts months”) are red flags.
Consider your surfaces. Adhesive-backed options work best on clean, smooth cabinet undersides. If cabinets are textured, heavily stained, or glossy, adhesive may fail after weeks. In those cases, track-mounted strips or magnetic puck mounts prevent frustration.
Finally, think future-proofing. Dimmable models cost more but offer flexibility for different tasks and moods. Warm white is more forgiving than cool white for showing off cabinetry, though cool white clarifies detailed work. RGB is novelty: stick with white temperature options unless color changes are genuinely appealing.
Installation Tips and Best Practices
Prep the surface properly, this step determines success. Wipe the cabinet underside with a damp cloth to remove dust, then follow with a dry cloth. For greasy buildup (common above stoves), use a degreaser or rubbing alcohol and wait 10 minutes for full evaporation. Any residual moisture or grime undermines adhesive strength.
Plan the layout before committing to placement. Hold the strip in position or place puck lights temporarily to verify coverage and shadow elimination. Check clearance with cabinet doors open and closed. Measure twice, adhesive strips are removable but leaving residue behind is annoying.
When installing adhesive strips, press firmly along the entire length for 30 seconds to set the bond. Some manufacturers recommend waiting an hour before powering on: follow the instructions. For track-mounted systems, use level tools to ensure straight installation: a crooked light looks worse than no light.
If using adhesive-backed pucks, start with one unit as a test. Leave it in place for 24 hours to confirm adhesion holds before installing the rest. Stagger multiple pucks to avoid dark gaps, spacing them 12–18 inches apart creates even coverage.
Check battery contacts for corrosion before installation. Some units sit in warehouses for months: a quick wipe with a dry cloth prevents startup glitches. Install batteries last, after confirming physical placement is correct.
For removable strips, buy 3M outdoor mounting strips as backups. If original adhesive fails after months, these heavy-duty alternatives often save a fixture worth $50+ from the recycling bin.
Safety note: although battery-powered lights pose no electrical shock risk, ensure cords don’t dangle near water sources. Kitchens and moisture don’t mix, keep charging cables away from sinks, dishwashers, and water dispensers.
Conclusion
Battery under cabinet lighting delivers practical brightness without the expense or hassle of hardwiring. Strips offer sustained task lighting across counters: pucks provide accent brightness and flexibility. Choose based on purpose, measure carefully, prep surfaces thoroughly, and expect installation to take under an hour. The result is a kitchen that’s genuinely more pleasant to work in, no contractor needed.