
Outdoor landscape lighting transforms a yard from purely functional into a welcoming retreat, extending usable hours, highlighting architectural features, and boosting curb appeal. Yet many DIYers approach it wrong, treating it as an afterthought or defaulting to builder-grade fixtures that wash everything in flat, yellowish light. The good news: selecting and installing quality outdoor landscape lighting doesn’t require a contractor. With the right fixture types, installation techniques, and energy-efficient technology, homeowners can create professional-grade results. This guide walks through everything needed to choose the best outdoor landscape lighting for any yard, from understanding fixture types to smart integration and installation best practices.
Table of Contents
ToggleKey Takeaways
- The best outdoor landscape lighting combines proper fixture types—path lights, accent lights, uplights, and floodlights—each serving distinct purposes to create layered, professional-grade illumination.
- LED technology cuts energy use by 80% compared to halogen, lasting 25,000 to 50,000 hours and reducing annual lighting costs to $20–$50, making it the smart choice for cost-conscious homeowners.
- Thoughtful placement and spacing matter more than expensive fixtures; layer ambient, task, and accent lighting, space path lights 4–6 feet apart, and angle uplights 3–5 feet from objects at 45 degrees for maximum visual impact.
- Choose fixtures with IP65 or higher weatherproofing ratings, cast aluminum or stainless steel construction, and warm white color temperature (2700K) to ensure durability and create an inviting aesthetic.
- Low-voltage (12V) systems require no permits and are safer for DIY installation, while smart lighting controllers enable remote dimming and automated scheduling to prevent energy waste and enhance convenience.
Understanding Different Types of Outdoor Landscape Lighting
Landscape lighting falls into distinct categories, each serving a specific purpose. Understanding the differences prevents over-buying fixtures and ensures coverage matches the yard’s layout and design goals.
Path and Accent Lights
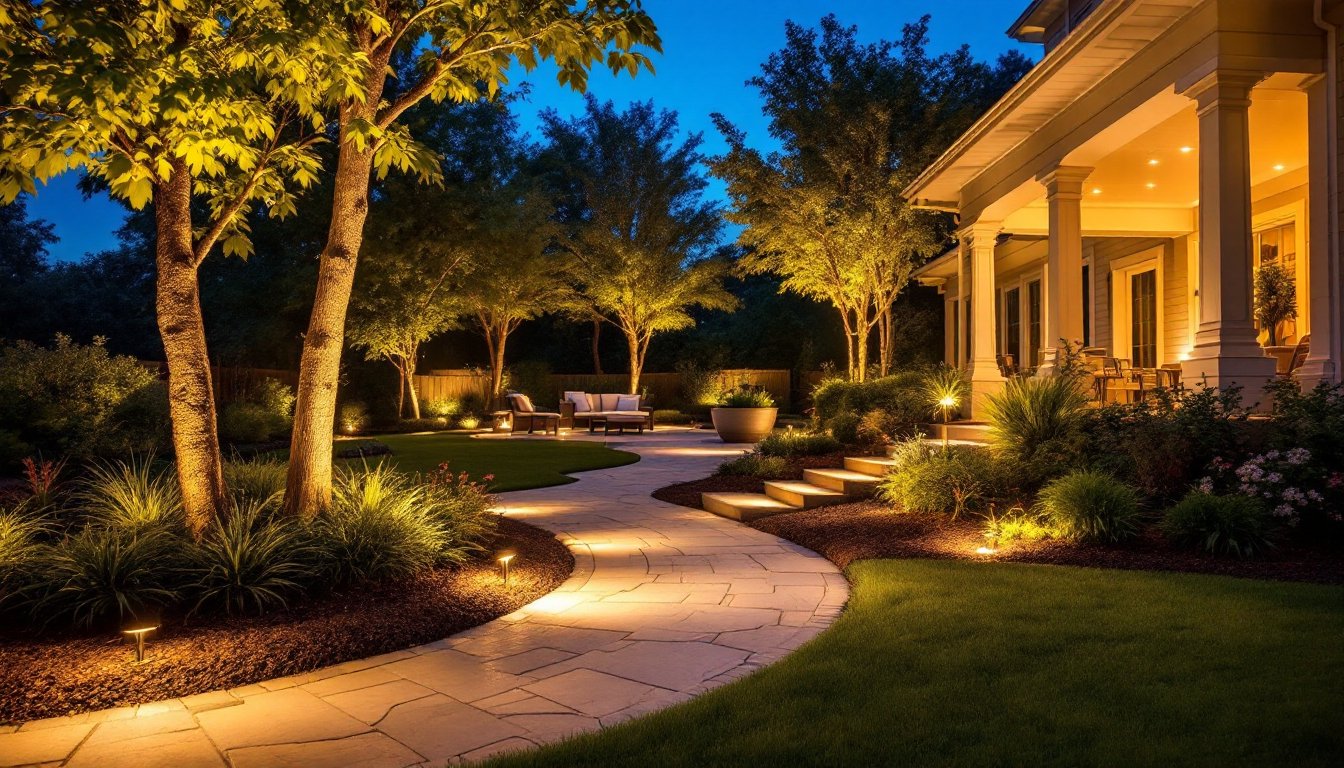
Path lights are short stake-mounted fixtures (typically 12 to 24 inches tall) that mark walkways, driveways, and garden edges. They cast light downward, creating pools of illumination underfoot without glaring into eyes. Most homeowners use them in clusters spaced 4 to 6 feet apart along paths.
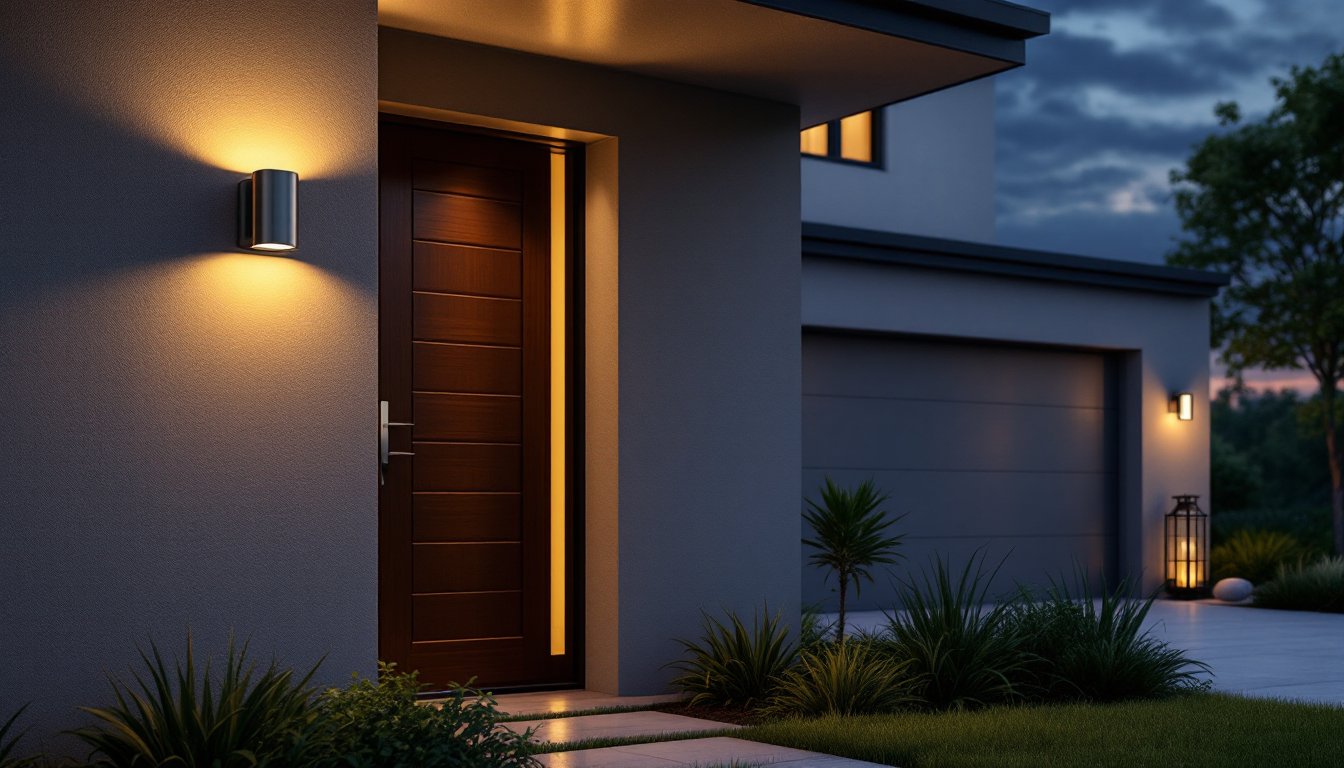
Accent lights are versatile uplights or spotlights that highlight plants, garden statuary, or landscape features. A small uplight can graze a tree trunk to emphasize texture, while a spotlight (with a tighter beam angle, usually 15 to 40 degrees) focuses on a specific focal point like a planter or architectural detail. Accent lights work best when placed 3 to 5 feet from the object being lit, angled to avoid direct view of the bulb.
Uplighting and Floodlights
Uplighting places fixtures low and aims them upward at trees, house walls, or tall shrubs. This technique creates drama and depth, separating the landscape into foreground, middle ground, and background layers. Uplights typically draw 5 to 10 watts in LED versions, making them efficient even when running all night.
Floodlights are broader, more powerful fixtures (often 20 to 50 watts) that illuminate large areas like patios, driveways, or entry courts. Traditional halogen floodlights waste energy and generate heat: LED floodlights deliver the same or better brightness at a fraction of the wattage. Most floodlights mount on walls, posts, or pole brackets and offer beam angles between 40 and 120 degrees.
Key Features to Look for When Choosing Landscape Lighting
Not all landscape fixtures are created equal. Several features directly affect performance, durability, and aesthetic results.
Material and weatherproofing matter most. Fixtures exposed to sun, rain, and temperature swings need cast aluminum, stainless steel, or powder-coated brass, not painted steel, which rusts quickly. Check the IP rating (Ingress Protection): IP65 or higher means the fixture is dust-tight and protected against water jets. This is non-negotiable for outdoor use.
Beam angle and spread determine how light distributes. A narrow beam (15 to 30 degrees) creates focused accent lighting, while a wide beam (60+ degrees) covers larger areas. The wrong angle leaves dark spots or wastes light outside the intended area.
Color temperature affects mood and functionality. Warm white (2700K) feels inviting and is standard for residential spaces. Cool white (4000K) suits modern designs or security-focused setups. Most landscape designers stick with warm, but mixing temperatures in the same yard looks disjointed.
Voltage options influence installation ease. Low-voltage (12V) systems use a transformer to step down standard 120V house current. They’re safer, require no permits for buried cable, and are ideal for renters or those avoiding trenching into underground utilities. Line-voltage (120V) fixtures deliver more power and don’t require a transformer, but buried cable must meet code (typically 18 inches deep, in conduit), and installation may require an electrician.
Dimmability and smart compatibility allow fine-tuning brightness and scheduling. Many modern LED fixtures integrate with Bluetooth or Wi-Fi controllers, letting users adjust lighting from a phone or automate on/off schedules. This adds cost but saves energy by eliminating always-on fixtures.
Top Installation Tips for Maximum Visual Impact
Professional-looking landscape lighting relies less on expensive fixtures and more on thoughtful placement and spacing.
Plan before digging. Walk the yard at dusk or use a flashlight to identify shadows, sight lines, and focal points. Sketch a rough plan marking fixture locations. This prevents burying cable in the wrong spot or learning mid-project that a tree blocks the view.
Layer the light. Good landscape design uses three layers: ambient (overall visibility), task (walkways, steps), and accent (focal features). A yard lit only with path lights feels flat: add uplighting on trees and accent lights on the house facade for depth.
Space fixtures consistently. Path lights spaced 4 to 6 feet apart create smooth, predictable illumination. Uneven spacing leaves gaps or creates a scattered, amateur appearance. Measure twice, mark with flags or spray paint, and dig holes before running any cable.
Bury cable safely. Low-voltage cable can be laid on top of soil and covered with mulch (no permit, minimal hassle). If burying, use a flat-head spade to slice a shallow trench, lay the cable in a single layer, and cover. Mark the cable’s location mentally or with stakes so future digging doesn’t hit it.
Angle uplights to graze, not blast. Place uplights 3 to 5 feet from a tree and angle at 45 degrees to illuminate bark texture and branch structure. Pointing straight up washes out detail and glares into neighbors’ windows. Test angles before finalizing placement.
Wear safety glasses and gloves when digging and handling electrical connections, especially outdoors. Use a ground fault circuit interrupter (GFCI) outlet for any low-voltage transformer: this interrupts power if a short occurs.
Avoid over-lighting. Excessive brightness creates harsh shadows and wastes energy. Start with 2 to 3 fixtures per accent area and adjust upward if needed. A well-lit yard should feel intentional and layered, not like a parking lot.
Smart and Energy-Efficient Lighting Solutions
LED technology has transformed landscape lighting, cutting energy use by 80% compared to incandescent or halogen. Combined with smart controls, modern fixtures offer convenience and savings.
LED advantages are substantial. A 10-watt LED floodlight delivers the brightness of a 50-watt halogen. LEDs last 25,000 to 50,000 hours (vs. 1,000 to 3,000 for halogen), so replacement is rare. Color rendering is excellent, and there’s no warmup time, LEDs illuminate instantly.
Smart lighting controllers enable scheduling and remote dimming. A Wi-Fi-enabled timer lets homeowners turn lights on at dusk and off at midnight automatically, reducing overnight energy waste. Some systems support geofencing, triggering lights only when residents are home. Bluetooth controllers work within 100 feet but don’t require internet setup.
Solar-powered fixtures suit low-power accent lighting. These stake lights charge during the day and glow at night without wired power. Quality solar fixtures (with 1000+ mAh batteries) maintain brightness for 6 to 8 hours. They’re perfect for budget-conscious DIYers or renters who can’t install underground wiring. But, they dim on cloudy days and won’t deliver the brightness needed for security floodlighting.
Calculate wattage carefully. If running a low-voltage system, add up all fixture wattages and ensure the transformer’s rated capacity exceeds the total by 20% (headroom prevents dimming). A 300-watt transformer powering 250 watts of fixtures is ideal: pushing it to 290 watts risks voltage drop and shortened LED life.
Energy-efficient fixtures paired with timers and dimmers reduce annual outdoor lighting costs to $20 to $50 annually, depending on yard size and usage, a stark contrast to older systems that ran $200+ per year.
Conclusion
Choosing the best outdoor landscape lighting combines understanding fixture types, prioritizing durability and beam angles, and following installation best practices. Layer ambient, task, and accent light, space fixtures evenly, and favor LED and smart controls for efficiency and convenience. Whether using low-voltage stakes or line-voltage floods, thoughtful placement transforms a yard into a welcoming, visually interesting space, no contractor required.