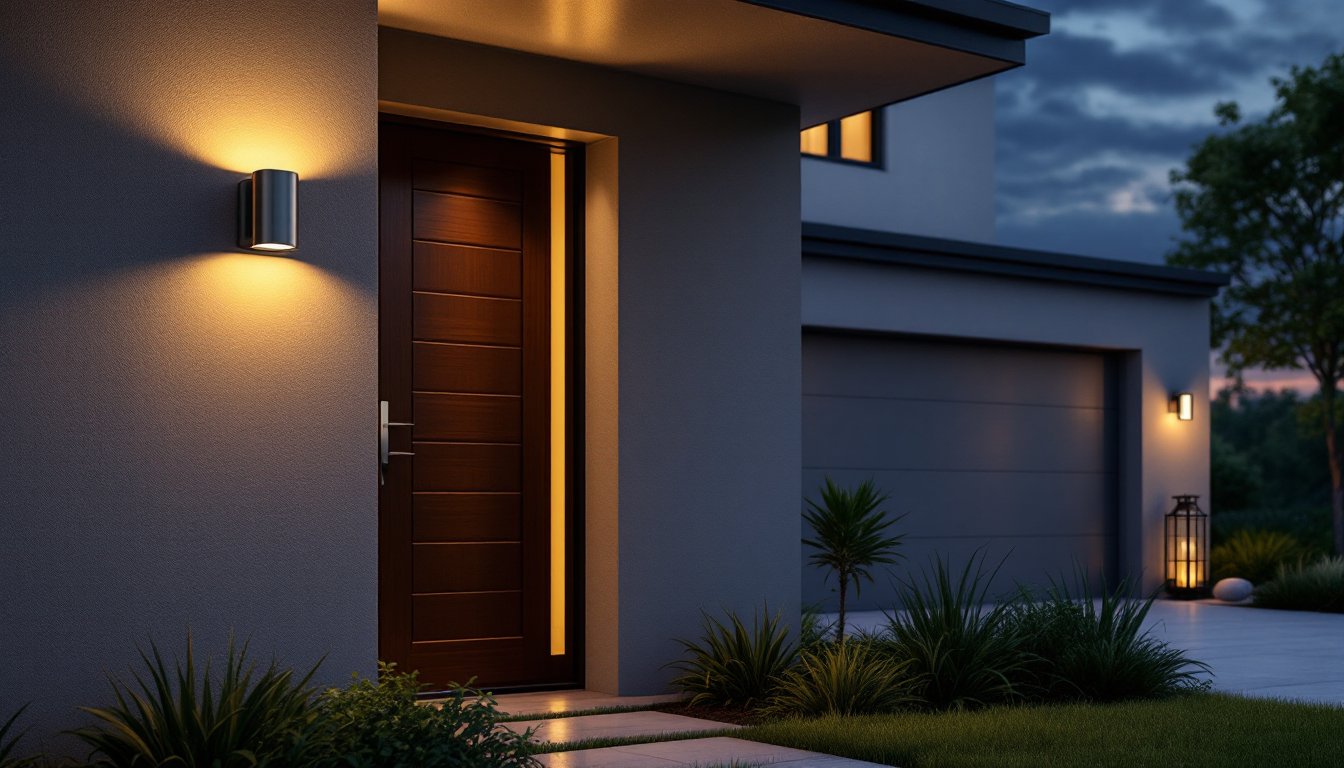

Good kitchen lighting isn’t a luxury, it’s the difference between safely chopping an onion and squinting at your cutting board. A properly lit kitchen requires multiple light layers working together: task lighting over work surfaces, ambient lighting for general visibility, and accent lighting to tie the design together. Whether someone’s tackling a kitchen refresh or starting from scratch, the right ceiling lighting solutions set the tone for both function and aesthetics. This guide walks through seven practical kitchen ceiling lighting ideas that balance brightness, style, and real-world installation considerations for 2026.
Table of Contents
ToggleKey Takeaways
- Kitchen ceiling lighting ideas should layer task, ambient, and accent lighting to balance safety, function, and style while accommodating your ceiling height and work zones.
- Recessed lights work best in kitchens with 9-foot ceilings using the 4-6 square feet per fixture rule, while flush mounts solve low-ceiling limitations in tighter spaces.
- Pendant lights over islands and under-cabinet LED strips provide focused task lighting that reduces eye strain, with island pendants typically hanging 30-36 inches above countertops.
- Track lighting offers flexible, adjustable illumination for evolving kitchen layouts without rewiring, making it ideal for contemporary spaces though it requires visible mounting.
- Dimmers on at least two separate circuits allow you to adjust brightness for cooking, dining, or entertaining, transforming how the kitchen functions throughout the day.
- Natural light through skylights or solar tubes reduces daytime artificial lighting costs, though professional installation and proper roof orientation are essential to avoid heat loss and leaks.
Recessed Lighting for Clean, Contemporary Kitchens
Recessed lights, also called downlights or can lights, sit flush with the ceiling and deliver a streamlined, modern look. They’re ideal for kitchens with 9-foot ceilings or higher because they don’t eat up headroom. A homeowner should plan for roughly one recessed light per 4-6 square feet of ceiling space: a 12×12-foot kitchen typically needs 6-9 fixtures for adequate ambient lighting.
The two main types are IC-rated (insulation contact) for spaces where recessed cans touch insulation and non-IC for uninsulated areas. Always confirm which type fits the application, mixing them up is a common mistake. LED retrofit kits with adjustable color temperature (warm to cool white) work well if upgrading an older installation, while new builds benefit from integrated LED downlights rated for 25,000+ hours.
Proper spacing matters. If lights are too far apart, the ceiling feels patchy: too close, and you waste money and risk overheating. Use the formula: distance between fixtures (in feet) should roughly equal ceiling height divided by 2. For instance, an 8-foot ceiling calls for spacing lights about 4 feet apart.
Installation requires cutting ceiling holes with a recessed light kit template and running electrical wire, expect 2-4 hours for a basic layout. Many homeowners hire an electrician for the wiring, especially if adding a new circuit. Costs range from $100-$300 per fixture (labor + materials).
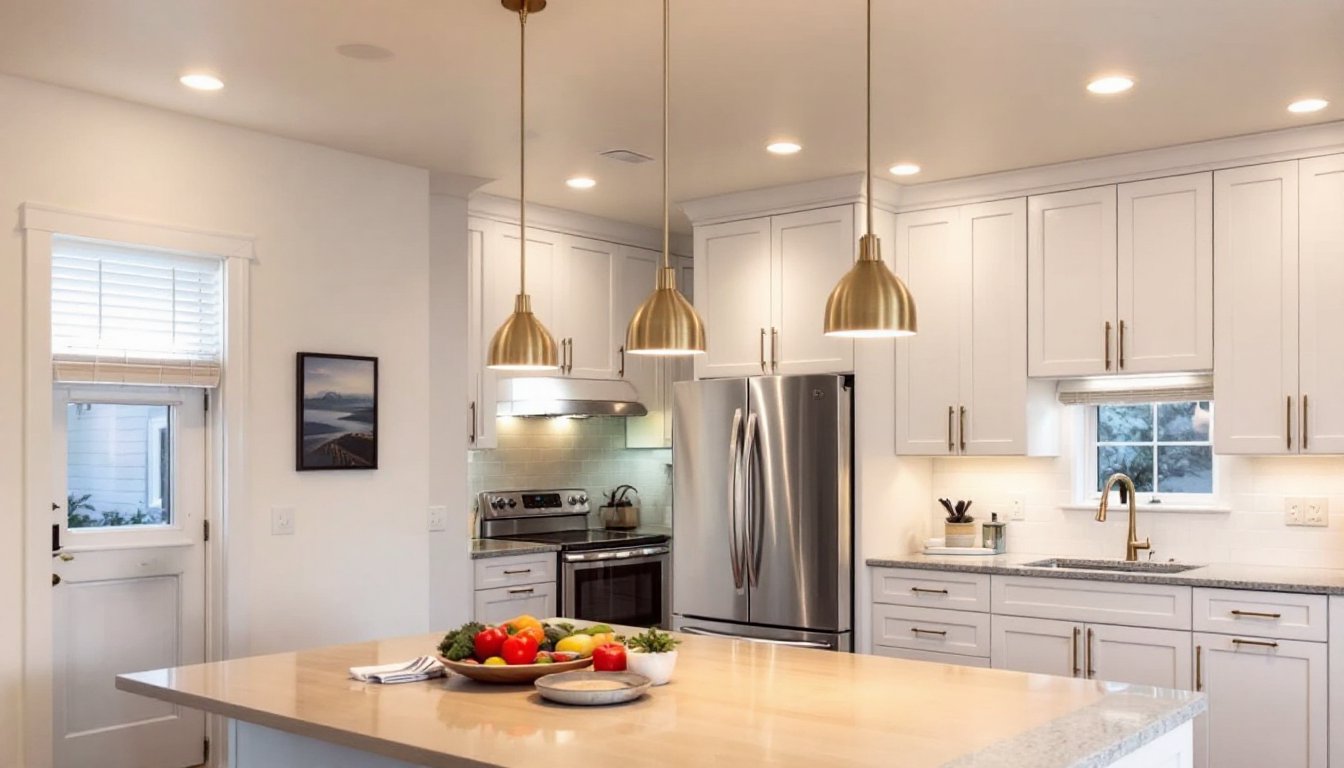
Pendant Lights: Style Meets Functionality
Pendant lights hang from the ceiling and work beautifully over islands, counters, or sink areas. They provide focused task lighting while adding visual interest, the opposite of recessed lights’ minimalist vibe. A kitchen island typically looks balanced with two to three pendants spaced 24-30 inches apart.
Choose pendants based on the task zone. Opaque shades direct light downward without glare, making them ideal for task work. Translucent or open designs spread light more diffusely and suit ambient roles. Glass, metal, wood, and ceramic all work: the key is matching the kitchen’s overall style. Brass and black metal are popular in 2026, though stainless steel remains timeless.
Mount height matters for safety and sightlines. Island pendants should hang 30-36 inches above the countertop surface, low enough to feel connected but high enough to clear someone standing at the counter. Standard ceiling height is 8 feet: drop a cord or chain to test the look before finalizing.
Electrical work is straightforward if there’s already a ceiling outlet or box in the desired location. If not, running new wire means accessing the space above the ceiling, likely a job for an electrician. Expect $200-$600 per pendant installation (fixture + labor). For renters, some pendant styles work with adhesive mounting on ceilings, though permanent hardwiring is best for long-term use.
Track Lighting for Flexible, Focused Illumination
Track lighting consists of a rail mounted to the ceiling with multiple adjustable fixtures (heads) that rotate and tilt. It’s the problem-solver when a kitchen layout changes or when certain zones need more light than others. Heads can be repositioned as needs evolve, no rewiring required.
Tracks come in single-circuit (all heads on one switch) or multi-circuit (independent control per section), with the latter offering more flexibility. LED track heads are standard now and run cooler than halogen versions. A typical kitchen track might be 4-6 feet long with three to four adjustable heads: multiple tracks can be linked together.
Installation involves mounting the track directly to ceiling joists or drywall anchors (for non-structural mounting, use heavy-duty anchors rated for 50+ pounds). Electrical connection can be hardwired into an existing outlet box or plugged into a nearby outlet, depending on the style. This makes track lighting a reasonable DIY project for someone comfortable with basic wiring.
The downside: tracks are visible and can look industrial if the kitchen’s style leans traditional or farmhouse. They’re better suited to contemporary or modern spaces. Costs run $30-$80 per head plus $40-$100 for the track itself, making a four-light system roughly $200-$500 before installation labor.
Flush Mount Fixtures for Low Ceilings
In kitchens with 8-foot or lower ceilings, pendant lights and chandeliers feel cramped. Flush mount fixtures, also called ceiling lights or flush fixtures, mount directly against the ceiling with minimal clearance. They’re compact but still deliver adequate illumination when chosen thoughtfully.
Flush mounts sit as close as 2-4 inches from the ceiling, making them ideal for tight spaces. They work well as secondary light layers (paired with task lighting elsewhere) or as the sole fixture in smaller kitchens under 100 square feet. LED flush mounts rated for 40W+ equivalency provide decent brightness without excessive heat.
Style options abound: sleek glass domes, fabric shades, or simple metal rings. White or brushed nickel finishes blend into most ceilings and feel neutral. Installation is straightforward: turn off power at the breaker, remove the old fixture (if replacing), connect the new one’s wires using wire nuts, and secure the canopy to the mounting plate. Most DIYers can handle this in 30-45 minutes per fixture.
Choose warm white (2700K) for a cozy feel or neutral white (4000K) for task-oriented spaces. Costs range from $20-$150 per fixture depending on materials and finish.
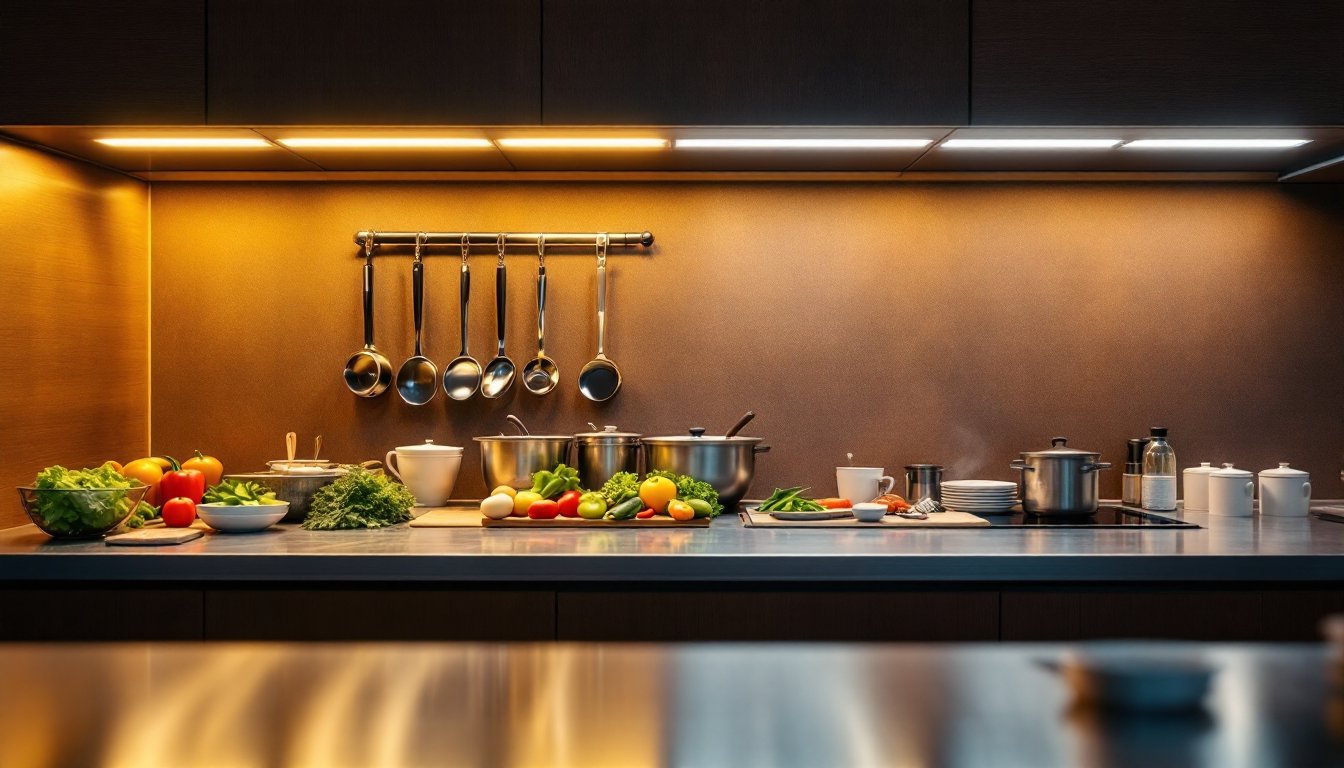
Under-Cabinet and Ambient Layer Lighting
Ceiling lights alone don’t create a well-lit kitchen. Under-cabinet lighting floods the countertop work surface with task light, reducing shadows and eye strain. LED strip lights (peel-and-stick or hardwired) are the modern standard, offering clean, cool light without heat.
Under-cabinet lights should have a diffuser or frosted lens to soften harsh spots and prevent glare reflecting off counters into eyes. A typical layout uses continuous strips under all upper cabinets: some people skip over the sink if overhead light already covers that zone.
Installation is mostly DIY-friendly. Measure carefully, clean the cabinet underside, peel the adhesive backing, and press the strip in place. Leave a 2-3 inch gap from the wall so light spills forward, not directly downward. For hardwired options, run low-voltage wire through the cabinet kickspace or behind trim to a transformer, which then connects to standard household power.
Ambient lighting, soft, indirect light that fills the entire kitchen, prevents harsh shadows and makes the space feel inviting. Combine recessed lights, pendant lights, and under-cabinet strips on separate dimmer circuits so a homeowner can adjust brightness for cooking versus entertaining. LED strip costs $30-$100 for a 16-foot run, and dimmers add another $15-$40 per circuit.
Skylights and Natural Light Integration
Natural light is free (after installation) and lifts mood in ways artificial light can’t match. Skylights or light tubes bring daylight into interior kitchens lacking windows. Modern skylights are much more efficient than older versions, look for double or triple-glazed units with low-emissivity (low-E) coatings to reduce heat loss.
Tubular skylights (also called solar tubes) are smaller, easier to install, and route light through a reflective tube to interior ceilings. They’re ideal for kitchens with limited roof space or where a full skylight isn’t feasible. Traditional skylights require roof penetration and internal shaft construction, a job for a professional roofer to avoid leaks and structural issues.
Size matters. A 2×4-foot skylight adds roughly 15-20% more light to a 200-square-foot kitchen (actual gain depends on sun exposure and shading). Install skylights on north or east-facing roofs to avoid excessive summer heat: south and west exposures may need operable shades.
Costs vary wildly: tubular skylights run $300-$700 installed, while traditional skylights start at $500-$1,500 depending on size and complexity. Both require roofing work, so homeowners should budget for professional installation and obtain any necessary building permits. The payoff is daylight harvest, reduced daytime artificial lighting costs and a brighter, more inviting kitchen.
Conclusion
The best kitchen ceiling lighting strategy layers multiple light sources: ambient (recessed or flush mounts), task (pendants or under-cabinet strips), and accent (track or skylights). Start by assessing the space, ceiling height, work zones, and existing outlets, then prioritize what matters most: clean looks favor recessed or flush mounts: islands and counters suit pendants: flexibility points to track lights. Most modern kitchens benefit from dimmers on at least two circuits, allowing occupants to adjust brightness for cooking, dining, or relaxing. Plan the electrical layout before cutting into drywall, and don’t hesitate to call a licensed electrician if any doubt exists. A well-lit kitchen isn’t just functional: it becomes the heart of the home.