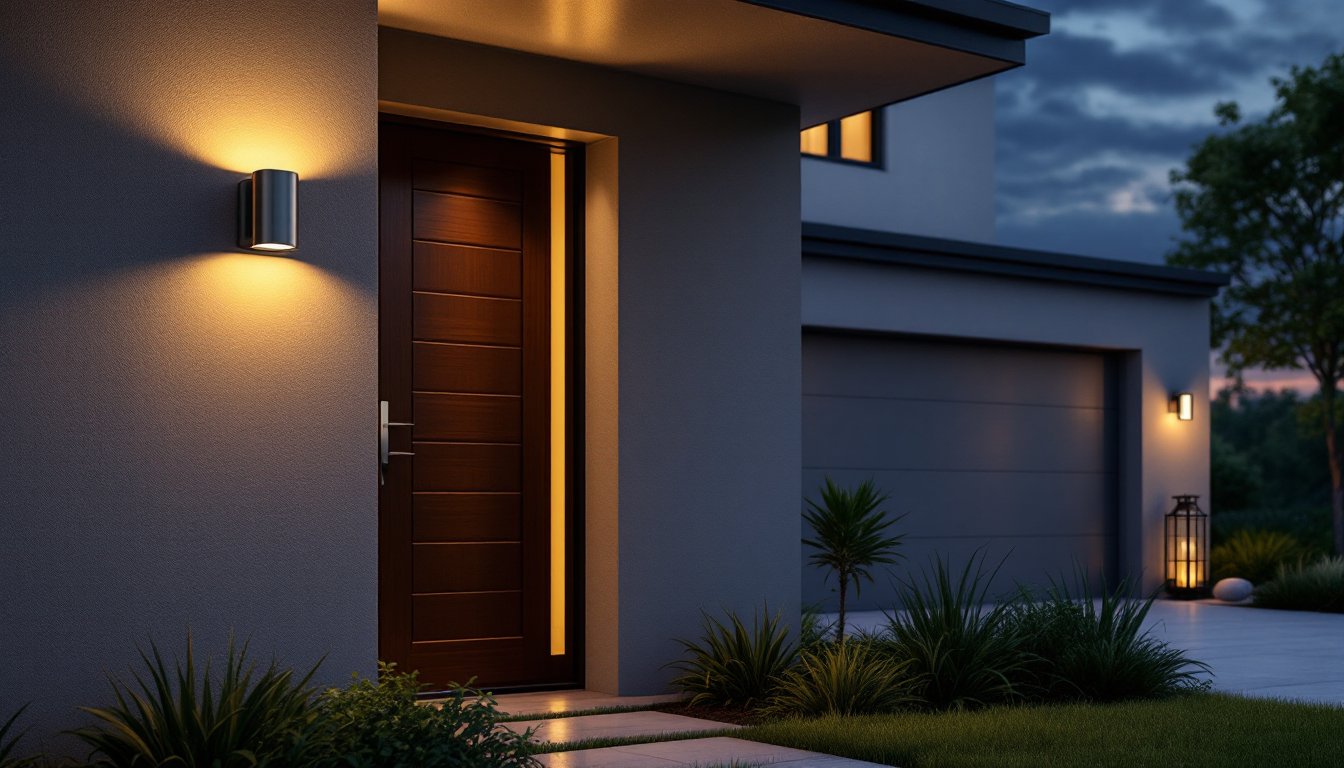

Outdoor lighting does more than create ambiance, it boosts security, defines pathways, and extends the usable hours in a backyard. But when a fixture stops working or a bulb burns out at dusk, the frustration sets in fast. The good news? Most outdoor lighting problems are straightforward to diagnose and fix without calling an electrician. Whether dealing with a dead LED, a corroded socket, or a tripped circuit breaker, a homeowner armed with the right knowledge and basic tools can handle the repair. This guide walks through common outdoor lighting issues, safe replacement procedures, electrical troubleshooting, and weatherproofing strategies to keep fixtures running reliably year-round.
Table of Contents
ToggleKey Takeaways
- Most outdoor lighting repair issues—including burned-out bulbs, tripped breakers, and loose connections—can be safely diagnosed and fixed by homeowners using basic tools and proper safety precautions.
- Always turn off power at the breaker before attempting any outdoor lighting repair, and use a non-contact voltage tester to confirm the circuit is de-energized to prevent electrical hazards.
- Replace outdoor bulbs with damp-rated or wet-rated LEDs matching the fixture’s voltage and base type, and verify dimmer compatibility by checking for the ‘dimmable’ label to avoid flickering or failure.
- Preventive maintenance such as sealing entry points with exterior caulk, installing drip shields, replacing gaskets every 3–5 years, and cleaning fixtures twice yearly significantly extends outdoor lighting lifespan.
- Call a professional electrician if a breaker trips repeatedly, you discover damaged insulation or burn marks, need to run new circuits, or work on hard-to-reach fixtures at heights.
Diagnosing Common Outdoor Lighting Issues
The first step in fixing outdoor lighting is pinpointing what’s wrong. Start by checking whether the light is completely dead, dimming unexpectedly, or flickering on and off.
Completely dark fixtures often point to a burned-out bulb, a tripped breaker, or a loose connection. Walk to the light during daylight and look for obvious signs: a blackened bulb interior, corrosion around the socket, or water pooling inside the fixture head. If the bulb looks clear, flip the corresponding breaker off and back on. A tripped breaker usually means a short or overload: if it trips immediately again after reset, stop and don’t attempt further repairs, this signals an electrical fault requiring professional diagnosis.
Flickering or dimming typically stems from a loose socket, poor contact between the bulb and socket, or an undersized power supply feeding low voltage landscape lights. Motion-sensor lights that flicker may have a failing sensor or misaligned detector. Intermittent on-and-off cycling often indicates age-related wear in the fixture or an external timer/sensor malfunction.
Note the fixture type: hardwired (connected directly to home wiring), low-voltage landscape (12V transformer-based), or battery-powered solar. This determines your repair approach and which components are replaceable.
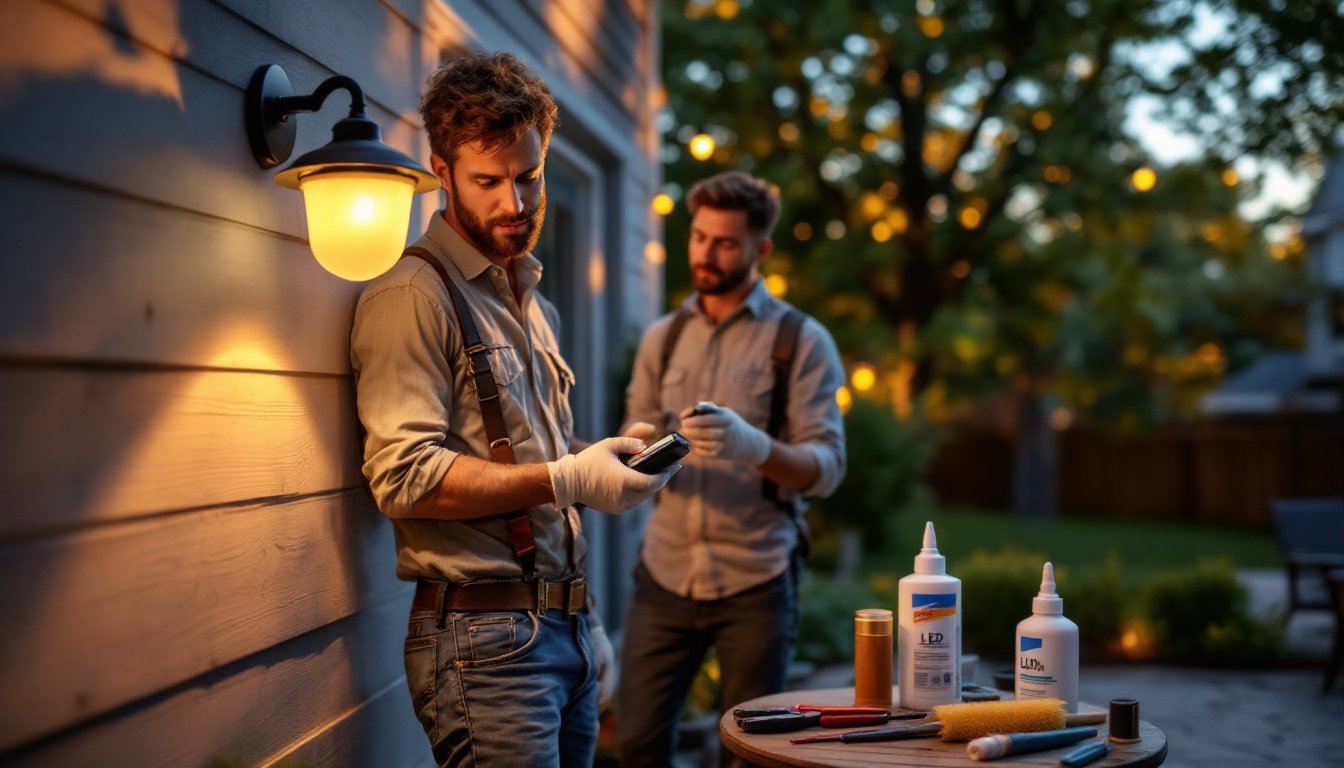
How to Replace Bulbs and Fixtures Safely
Before touching any outdoor light, turn off power at the breaker or unplug the fixture if it’s on an outlet. Allow the bulb to cool for at least five minutes if it was recently on, outdoor lights can reach 150°F+.
For hardwired fixtures, always switch off the breaker controlling that circuit, then test the light switch to confirm no power is reaching the fixture. Wear nitrile gloves and safety glasses when working near corroded sockets or water. If the bulb spins freely, it’s simply loose: tighten it clockwise with firm, steady pressure. If it won’t budge, don’t force it, a broken bulb inside the socket creates a hazard. Stop and consider replacing the entire fixture socket.
When removing a stuck or broken bulb, grasp it near the base with a rag for grip, then slowly turn counterclockwise. If the bulb shatters, switch off the breaker immediately, let debris settle, and carefully extract fragments with needle-nose pliers or a damp cloth. Never attempt this with the breaker still on.
For low-voltage landscape lights, the transformer is the power hub. First, confirm the transformer is plugged in and check its breaker or outlet GFCI status. If a light on the string is dim, there may be a loose connection at the terminal blocks or a broken wire. Tighten all wire terminals by turning the small screws clockwise with a flathead screwdriver.
Choosing the Right Replacement Bulbs
Outdoor bulbs come in three main types: incandescent (warming but inefficient), halogen (brighter, still hot), and LED (energy-efficient, long-lasting, now the standard). Most repairs today involve LED replacements.
When buying a replacement, match the voltage (120V for hardwired: 12V for landscape) and base type (E26 standard, E17 candelabra, pin bases for landscape systems). Check the fixture’s wattage limit, exceeding it causes overheating and premature failure. An outdoor damp-rated or wet-rated LED certified by UL or ETL resists moisture and temperature swings better than indoor-rated bulbs.
Dim-capable LEDs have the RA80 or higher color rendering index (CRI) and are labeled “dimmable.” Standard LEDs will flicker or fail on dimmer switches. If the old fixture uses pin-base bulbs (common in landscape lights), verify the pin spacing (GU10, G4, etc.) before purchasing a replacement.
Troubleshooting Electrical and Wiring Problems
Electrical issues require a methodical approach. Start with the simplest checks before assuming deeper problems.
GFCI outlets (ground fault circuit interrupters) protect outdoor circuits. If an outlet-powered light goes dark, press the TEST button on the nearby GFCI outlet: if it pops, press RESET. If the light still doesn’t work after reset, try a different outlet to confirm the problem isn’t with that specific outlet.
For hardwired fixtures, use a non-contact voltage tester (a handheld tool that beeps when detecting live electrical current). After switching off the breaker, hold it near the light fixture and switch wires to verify the circuit is truly de-energized. This confirms safe working conditions. If the tester beeps, the breaker isn’t controlling that circuit, do not proceed. Identify the correct breaker by testing each one, or call an electrician.
Loose connections at terminal blocks or junction boxes are common culprits. With the breaker off, inspect where wires connect to the fixture. Black (hot), white (neutral), and bare copper (ground) wires should be firmly crimped or screwed in place. A slight tug should show no movement. Tighten any loose screws with a flathead screwdriver.
Corrosion inside the fixture body eats through wire insulation and connection points. If you see white, green, or blue crusty deposits, the fixture is reaching the end of its life. Clean light corrosion with a wire brush and electrical contact cleaner, then apply a thin coat of dielectric grease to prevent recurrence. Heavy corrosion warrants replacement.
Water intrusion is the silent killer. Fixtures designed for wet locations have sealed gaskets and drain holes. If water pools inside, it’ll short the circuit or corrode components. Check that the gasket is seated properly and replace it if cracked or dried out.
Repairing Weather-Damaged Outdoor Lights
Outdoor lights face relentless exposure, UV rays fade finishes, rain and freezing cycles corrode metal, and temperature swings stress sealants.
Surface corrosion on brass or steel fixtures can be cleaned with a wire brush and white vinegar, then dried thoroughly and sealed with a clear lacquer or outdoor paint. Sand pitted areas lightly with 180-grit sandpaper first, then wipe clean with a damp cloth before applying finish.
Cracked or cloudy polycarbonate lenses diffuse light poorly and let moisture in. Replacement lenses are inexpensive and widely available. Remove the old lens by unbolting it (usually 2-4 fasteners), clean the frame gasket, and snap the new one in. Use a clear silicone sealant around the perimeter if the new lens doesn’t come with a pre-installed gasket.
Corroded sockets may be salvageable. If a bulb won’t sit flush or contact is poor, the socket interior may be oxidized. Remove the fixture from the wall or post (typically 2-3 bolts), then carefully scrape the socket interior with a small brass brush or aluminum foil (softer than the socket, less damaging). Wipe clean and test with a new bulb before reinstalling.
Protecting Fixtures From Future Damage
Preventive maintenance extends the life of outdoor lighting and reduces future repairs.
Seal all entry points. Check where wires enter the fixture and where the fixture mounts to the wall. Small gaps let water creep in during rain and snow. Use silicone caulk rated for exterior use to seal these seams. Reapply every 2-3 years or when caulk shows cracks.
Install drip shields. For fixtures that don’t have built-in drainage, a simple metal or plastic drip shield mounted just above the light prevents rain from flowing downward into the fixture head.
Use weatherproof bulbs and sockets. Damp-rated or wet-rated fixtures paired with the same-rated bulbs resist moisture much longer than standard components.
Clean fixtures twice yearly. Remove debris from lens surfaces and fixture crevices. Dust restricts cooling and traps moisture. A soft brush and mild soap work fine.
Replace gaskets proactively. Gaskets dry out and crack over 3-5 years. Swapping them before they fail prevents water intrusion.
When to Call a Professional Electrician
Not every outdoor lighting issue is a DIY job. Knowing when to stop and call a professional keeps you safe and prevents costly mistakes.
Call an electrician if:
- A breaker trips repeatedly after you’ve ruled out a loose bulb or overloaded circuit.
- You find damaged insulation, melted wire, or burn marks inside a fixture.
- You need to run new circuits, add outdoor outlets, or extend hardwired lighting, this requires a permit and adherence to the National Electrical Code (NEC).
- The fixture is mounted high (roof eaves, tall posts) and requires scaffolding or a lift to access safely.
- You’re unsure whether a circuit is truly de-energized, or your voltage tester gives inconsistent readings.
- Water is leaking into the fixture even though sealing attempts, suggesting deeper moisture problems in the wall or structural gaps.
Permit and code considerations vary by jurisdiction, but most areas require a permit for new hardwired outdoor lighting and upgrades to existing circuits. Low-voltage landscape lighting systems under 600 watts usually don’t need a permit, but check locally. A licensed electrician navigates these requirements and ensures the work passes inspection.
Do-it-yourself repairs save money on simple fixes, replacing a bulb, tightening a connection, or resealing a gasket. But electrical fires, shock hazards, and code violations aren’t worth the risk. When in doubt, get a quote. A professional visit might cost $100–$150 for diagnosis, far less than repairing water damage or rewiring after a DIY misstep.