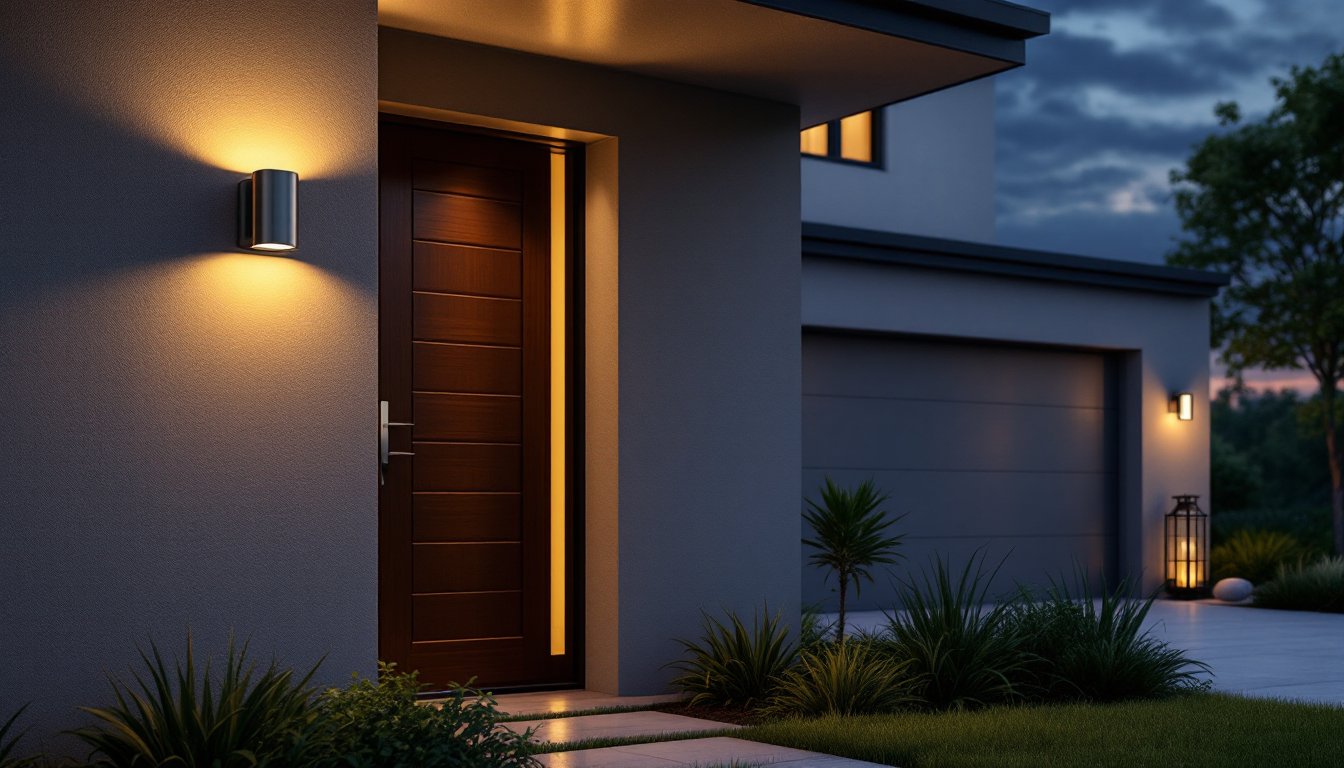

Installing an outdoor lighting switch means taking control of your landscape, patio, or entryway with reliable, safe electrical control, even in rain, snow, and humidity. Unlike indoor switches tucked away in climate-controlled rooms, outdoor switches face constant exposure to the elements. They need to be built tougher, rated for wet locations, and properly installed to prevent short circuits, corrosion, and shock hazards. Whether someone is adding a simple switch for deck lighting or automating security lights with motion sensors, understanding the types available, installation requirements, and weatherproofing standards is essential. This guide walks through what an outdoor lighting switch really needs to be, how to pick the right one, and what installation involves.
Table of Contents
ToggleKey Takeaways
- An outdoor lighting switch must be rated for wet locations (WR or WSH) with corrosion-resistant materials and gasket seals to prevent moisture damage, rust, and electrical hazards in rain and humidity.
- Proper installation requires a wet-rated electrical box (cast aluminum or stainless steel), GFCI protection, and standard wiring in conduit to meet building codes and ensure safety in outdoor environments.
- Motion-activated and smart outdoor lighting switches offer energy savings and convenience, but confirm wet-rating before purchase since not all smart switches are designed to withstand outdoor conditions.
- Weatherproofing standards like NEMA 4X or IP65 are mandatory; indoor switches will fail within months outdoors, so investing in quality components and professional installation saves time and replacement costs.
- Choose single-pole switches for one-location control or three-way configurations for multi-location control, and consider usage patterns—security lights benefit from motion sensors, while entertainment areas may need manual or timer controls.
Types of Outdoor Lighting Switches
Standard Wet-Rated Switches
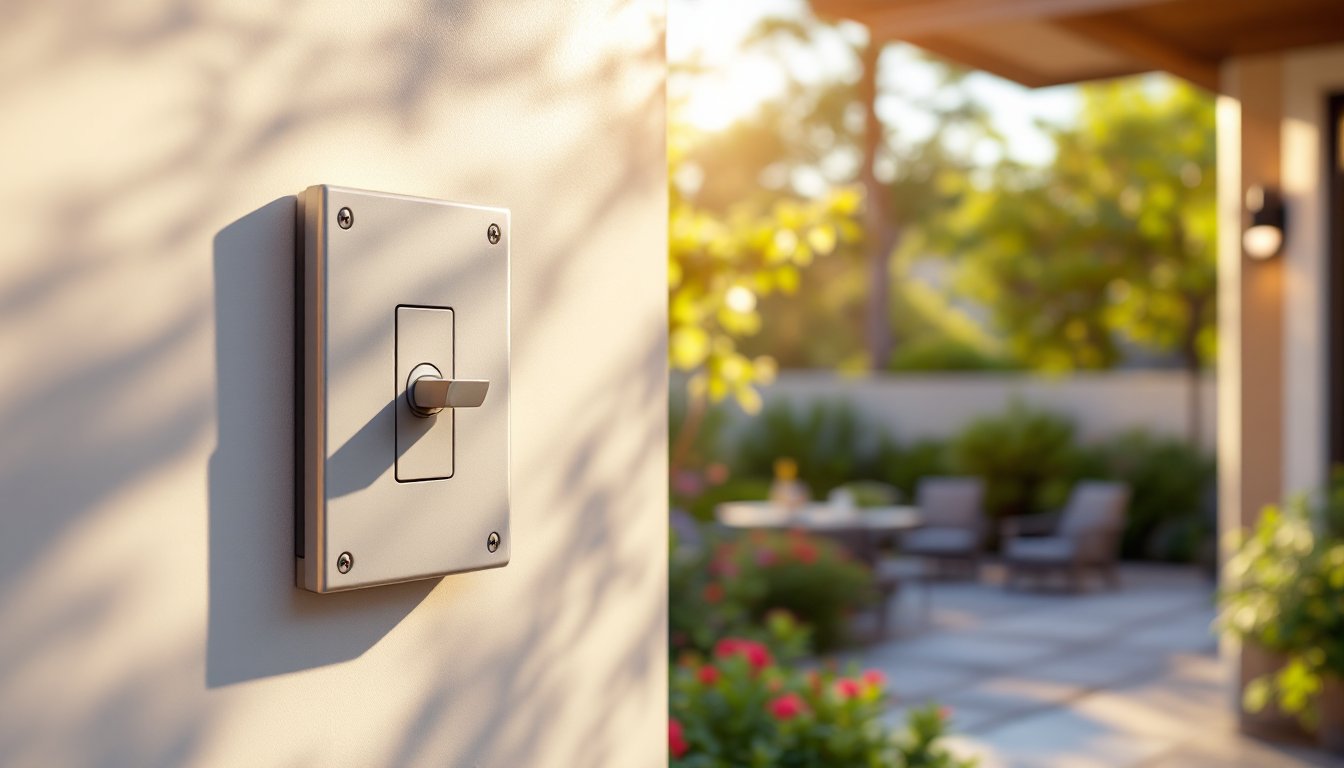
A standard outdoor lighting switch must be rated for wet locations, this isn’t optional. Look for WR (wet-rated) or WSH (wet-rated, switchable high) markings on the box or device itself. These switches are housed in corrosion-resistant materials (typically nylon-based thermoplastic or stainless steel) and have gasket seals around the internal components to keep moisture out.
Wet-rated switches come in single-pole (one-way) or three-way (two-location control) configurations. A single-pole outdoor switch simply turns a light on or off from one location, perfect for a porch light or side-yard fixture. A three-way setup lets someone control the same light from two different locations, handy for lights between a patio and a back door. Both styles are readily available at home improvement stores and cost roughly $5–$20 per switch depending on material quality and finish.
The key difference from indoor switches isn’t just the rating, it’s the gasket and materials. Standard indoor switches will rust internally and fail within months outdoors. Don’t take shortcuts here.
Motion-Activated and Sensor Switches
Motion-activated outdoor lighting switches (also called occupancy sensors) detect movement and automatically turn lights on for a set duration, then off when no motion is detected. These are excellent for security, convenience, and energy savings. They typically cost $20–$60 and can be installed in the same electrical box as a standard switch.
Sensor switches come in a few varieties. Passive Infrared (PIR) sensors detect heat from moving bodies and are the most common and affordable option for residential use. Microwave sensors sense movement through walls and are better for detecting smaller movements but consume slightly more power. Both should be wet-rated if mounted outdoors.
Adjustable features usually include sensitivity (range), on-time duration, and sometimes a manual override or ambient light threshold, so lights only activate at dusk. Someone installing a motion sensor should plan for clearances: the sensor needs an unobstructed view of the area it’s controlling, typically a 180-degree arc within 30–40 feet depending on the model. Avoid pointing the sensor at windy trees or reflective surfaces that might trigger false activations.
Key Features and Installation Requirements
Weatherproofing and Durability Standards
Outdoor switches must meet NEMA 4X or IP65 weatherproofing standards at minimum. NEMA 4X means the enclosure resists corrosion, dust, and water splashed from any direction. IP65 is the international equivalent, the “5” means water jets from any direction won’t harm the device. Both ratings ensure the switch won’t fail after the first heavy rain.
The switch itself should sit inside a wet-rated electrical box with a gasket or in-use weatherproof cover. This is critical. A standard plastic indoor box will trap moisture and lead to corrosion within months. Use a cast-aluminum or stainless-steel wet-rated box (roughly $3–$8) paired with a gasket ring ($1–$2) that compresses between the box and the cover plate, sealing out water even when the switch is in use.
Installation steps at a glance:
- Turn off power at the breaker and test the circuit with a voltage tester.
- Run 14/2 NM cable (14-gauge for standard 15-amp circuits: 12/2 for 20-amp circuits) in a conduit or weatherproof raceway if exposed to sun. UV exposure degrades cable insulation.
- Mount the wet-rated box at a standard height (typically 48–54 inches from grade for outdoor patios) and secure it firmly to the structure.
- Connect the hot wire to the brass terminal, neutral to silver, and ground to green or bare copper, following standard NEC (National Electrical Code) conventions.
- Install the gasket ring, then mount the switch and cover plate.
- Test with power restored.
If the switch is in a high-traffic area, use a GFCI (Ground Fault Circuit Interrupter) outlet or install the circuit on a GFCI breaker. GFCI devices monitor for ground faults and cut power within milliseconds if a shock hazard is detected, essential safety gear for outdoor circuits. Building codes in most jurisdictions require GFCI protection for all outdoor outlets and switches.
Smart and Connected Solutions
Smart outdoor lighting switches are gaining traction and can save time and energy. These devices connect via Wi-Fi, Bluetooth, or Zigbee and let someone control outdoor lights from a smartphone, voice assistant, or automation routine, even remotely.
Wi-Fi switches work independently or integrate with ecosystems like Alexa, Google Home, or Apple HomeKit. They cost $30–$80 per switch and don’t require a separate hub, but they can drain power if not designed efficiently. Some models include built-in motion sensors or daylight adjustment features.
Zigbee or Z-Wave switches work through a hub (like a smart home controller) and are typically more energy-efficient for battery-powered sensors, though wired switches plugged into outlets don’t show much advantage. Hubs can cost $50–$150, so the total system cost rises.
The installation process is nearly identical to standard switches, same wiring, same boxes, same GFCI requirements. The difference is the switch itself has a radio transmitter inside. Always confirm the device is wet-rated before buying: not all smart switches are designed for outdoor use. Budget-friendly or novelty smart switches often lack proper weatherproofing and will fail outdoors.
One practical consideration: outdoor smart switches need a reliable Wi-Fi signal. If the patio or yard is far from the router, extend coverage with a Wi-Fi extender or mesh system first. Don’t assume wireless control works in every corner of the property.
Choosing the Right Switch for Your Space
Start by identifying the job. Is it a simple on/off for one light, or does someone need to control the same light from multiple entry points? Single-pole or three-way, that’s the first choice.
Next, consider the fixture type and power draw. Standard incandescent or halogen outdoor lights work fine with any wet-rated switch. LED fixtures (increasingly common) draw far less power and are more compatible with motion sensors, though very low-wattage LED strips might not trigger some older motion switches. If using LEDs, confirm the switch’s minimum and maximum load ratings.
Think about usage patterns. A security light at the entry probably benefits from a motion sensor, set it to activate at dusk and turn off after 5–10 minutes of no motion. A patio light used for entertaining might need manual control or a timer switch. A landscape accent light could run on a photocell (daylight sensor) alone.
Location matters too. Switches in covered soffits, recessed alcoves, or under deep eaves face less direct weather and can use simpler wet-rated designs. Switches in fully exposed spots, like a post-mounted fixture in an open yard, need maximum protection: sealed aluminum boxes, gasket covers, and possibly even a small roof overhang above the box.
Budget and future-proofing come last. A basic wet-rated switch costs under $15: motion sensors run $25–$60: smart switches $40–$100. If someone is rewiring an outdoor area, spending $10 extra on a higher-quality switch and box now saves years of troubleshooting and replacement later. Cheap switches corrode, fail intermittently, and turn a quick project into a frustration.
Always check local building codes or call the permit office if the project requires one (adding a new circuit usually does). Installation by a licensed electrician ensures the work meets code, is inspected, and comes with warranty coverage, worth the cost for structural or safety-critical work.