
Under cabinet lighting transforms a kitchen from purely functional to genuinely inviting. Beyond aesthetics, it solves a real problem: the shadow cast by your body and the cabinet overhang when prepping food or washing dishes. Proper under cabinet lighting eliminates that shadow, making countertop work safer and more comfortable. In 2026, DIYers have affordable, easy-to-install options that didn’t exist five years ago. LED technology has matured, prices have dropped, and most setups require nothing more than basic tools and a couple of hours. Whether someone is upgrading rental-grade kitchen fixtures or finalizing a full remodel, under cabinet lighting delivers immediate impact and genuine utility.
Table of Contents
ToggleKey Takeaways
- Under cabinet lighting eliminates shadows on countertops, improving safety and comfort during food prep while adding visual warmth and polish to your kitchen.
- LED strip lights are the most affordable and DIY-friendly option for under cabinet lighting, costing $100–$400 for a typical kitchen compared to $800–$1,500 for professional installation.
- Proper surface preparation with isopropyl alcohol and careful measurement before installation are critical to ensure LED strips adhere correctly and last longer.
- Choose a neutral white (3500K–4000K) color temperature for under cabinet lighting to balance task visibility with a natural, inviting kitchen ambiance.
- Puck lights and tape lights offer more polished, professional-looking alternatives to strip lights, though they require more precise installation and cost $150–$300 per 10 feet.
Why Under Cabinet Lighting Matters
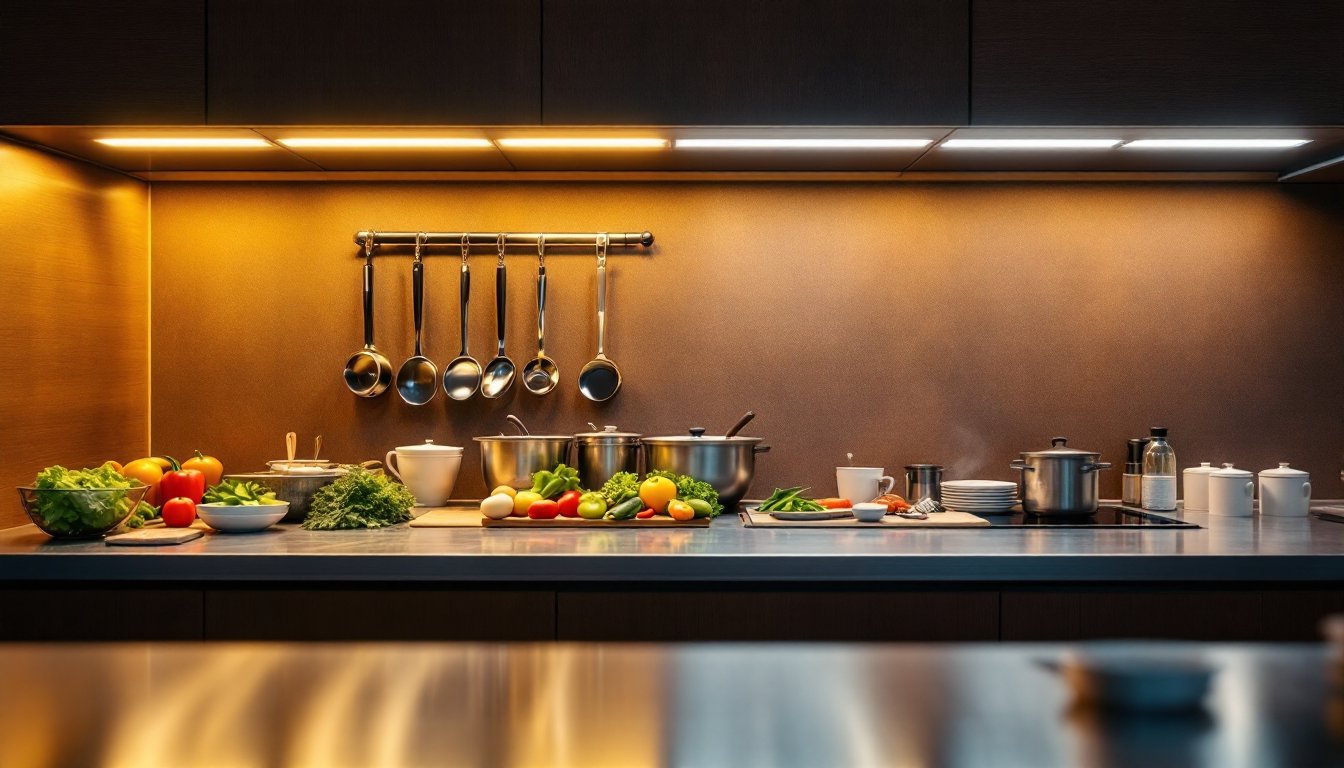
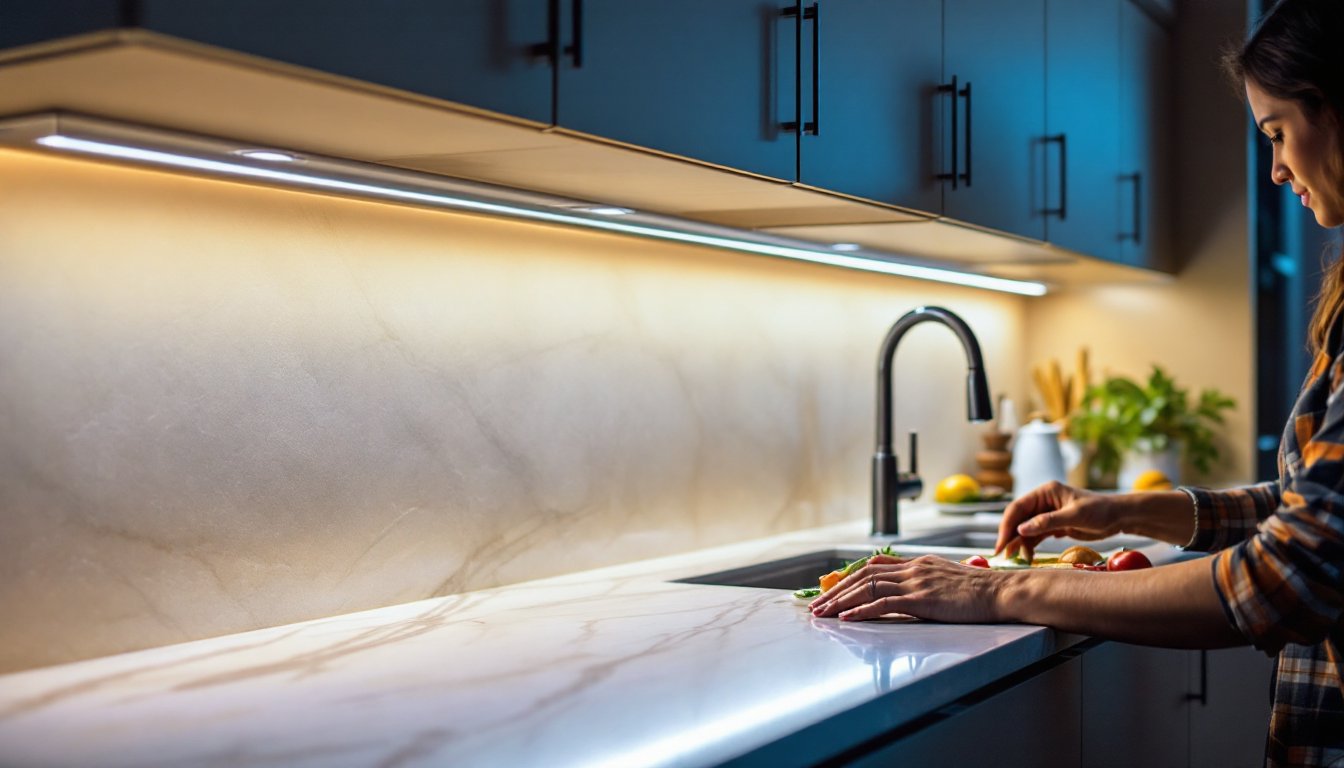
Under cabinet lighting serves two distinct purposes: task lighting and ambiance. From a practical standpoint, it eliminates shadows on the countertop, which reduces eye strain during food prep and improves safety when handling sharp tools. A countertop buried in shadow is genuinely harder to work on, and no amount of overhead recessed lighting fully solves the problem because the cabinet itself blocks the light.
Beyond function, under cabinet lighting creates visual warmth in the kitchen. It highlights backsplashes, draws attention to countertop materials, and makes the space feel intentional rather than unfinished. A kitchen with properly installed under cabinet lighting looks more polished and requires no other renovation to feel elevated.
The financial case is equally straightforward. Quality LED under cabinet systems cost between $100 and $400 for a typical kitchen, depending on length and control features. A professional electrician would charge $800 to $1,500 for the same job. For a DIY installation, the project costs less than most people spend on a single kitchen appliance and takes a fraction of a day to complete.
Types Of Under Cabinet Lighting
LED Strip Lights
LED strip lights are the most popular choice for DIY under cabinet work. These flexible, adhesive-backed strips come in continuous rolls, typically 16.4 feet or longer, and can be trimmed to fit any cabinet length. They’re available with different power options: battery-powered (wireless, simplest install but requires regular battery changes), plug-in (reliable, but requires access to a nearby outlet), and hardwired (permanent, cleanest look, requires running wire behind cabinets).
LED strips deliver even, flicker-free light across the entire countertop. They’re thin enough to hide behind a trim strip or small lip at the cabinet’s front edge, so they don’t dominate the visual space. Strip lights are also dimmable with most models, making it easy to adjust brightness for cooking tasks versus evening ambiance. Look for strips rated 3000K to 4000K color temperature for kitchen work, warm enough to feel natural, cool enough for task lighting.
One consideration: lower-cost strip lights (under $40 for 16 feet) often have inconsistent brightness or poor adhesive backing. Spending $80 to $150 on a mid-tier LED strip from brands offering solid warranties pays dividends in longevity and light quality.
Puck Lights And Tape Lights
Puck lights are individual cylindrical fixtures mounted directly under cabinets, spaced 12 to 18 inches apart. They’re bulkier than strips but offer more concentrated light directly downward, making them ideal for accent lighting over a backsplash or for highlighting specific countertop areas. They work well in kitchens with modern or industrial design aesthetics where exposed fixtures feel intentional.
Tape lights fall between strips and pucks, they’re sealed LED strips housed in aluminum channels that look more finished and professional. The aluminum channel acts as a heat sink, extends LED lifespan, and allows for cleaner trim details. Tape lights cost more than bare strips ($150–$300 per 10 feet installed) but look substantially nicer and are easier to mount permanently with the aluminum track system.
Both puck and tape light options require slightly more precise measuring and spacing than adhesive strips. Pucks must be individually mounted and wired, while tape lights require the aluminum channel to be fastened first. The trade-off is a more polished final appearance that looks less DIY and more like professional design.
Installation Methods And Best Practices
Successful under cabinet lighting starts with surface preparation. Wipe cabinet undersides with a lint-free cloth and isopropyl alcohol (70% or higher) to remove dust, grease, and residue. This step is non-negotiable if using adhesive-backed strips, poor surface prep leads to strips peeling off within weeks. Allow the surface to dry completely before installation.
Next, measure carefully. Run a tape measure the full length of the cabinet run and note any obstacles (pipes, outlets, or structural elements). For LED strips, plan cuts and connections before adhesive goes down: most strips have marked cut lines every inch or so. Dry-fit the entire layout by positioning the strip without removing the backing. This prevents costly mistakes and ensures even spacing.
Installation differs by mounting method:
Adhesive Strip Installation: Remove the backing and press firmly, working in 12-inch sections. Apply even pressure for 30 seconds per section to ensure full adhesion. Avoid corners or obstacles on the first attempt: wait 24 hours before powering on to allow adhesive to set completely.
Hardwired Installation: This requires basic electrical work. Run power wire (typically 12-gauge or 14-gauge) from an existing outlet or a new circuit through the cabinet’s interior. Strip about ½ inch of insulation from the wire ends and connect them to the LED strip’s terminal connector. Secure the wire with J-channel or cable clips every 12 inches to prevent sagging. If tapping into an existing outlet, verify that the circuit can handle the additional load (LED strips draw minimal current, but it’s worth checking). Any hardwired installation in a kitchen should comply with NEC (National Electrical Code) requirements for moisture-resistant installation, use GFCI protection if the outlet is near a sink.
Safety First: Wear safety glasses during installation. If drilling through cabinet material, use a cordless drill with appropriate bits. Avoid drilling into wall studs or existing wiring: use a stud finder or wire tracer if uncertain. After installation, test all connections before closing any cabinet doors or covering wires.
Trim covers and diffusers complete the job. Frosted or clear plastic diffusers soften harsh shadows and spread light more evenly across the countertop. Aluminum trim strips hide the LED strip’s edges and look far more intentional than exposed strips. These finishing touches cost $10–$30 per 10 feet and transform a functional install into something that looks designed rather than hastily added.
Choosing The Right Color Temperature
Color temperature, measured in Kelvins (K), fundamentally changes how the kitchen feels and functions. For under cabinet lighting, three ranges matter most.
Warm White (2700K): This mimics incandescent bulbs and creates the coziest, most residential feel. It’s excellent for evening cooking and entertaining because it’s flattering to skin tone and food presentation. Warm white can feel slightly dim for detailed prep work, so it’s often paired with neutral or cool overhead lighting. If someone plans to rely primarily on under cabinet lights for work, warm white alone may fall short.
Neutral White (3500K–4000K): This is the practical sweet spot for kitchen task lighting. It’s bright enough for precise knife work or reading recipes without the harsh, sterile feeling of cool white. Most professional kitchens and serious home cooks prefer this range because it accurately renders food colors and doesn’t induce eye strain during extended prep sessions. A 3500K to 4000K strip works well with almost any cabinet style and countertop material.
Cool White (5000K+): This resembles daylight and is best reserved for specialty accent lighting over backsplashes or display shelves. It’s too clinical for primary task lighting in a residential kitchen and can make food and skin tone look unappetizing. But, some open-concept kitchens with modern aesthetics intentionally use cool white for visual impact.
For most DIYers, buying a color-adjustable or switchable strip light (available at mid-range price points, typically $120–$200) eliminates the guessing game. These strips let someone switch between warm and neutral without rewiring, making it easy to optimize for different times of day or entertaining scenarios.
Conclusion
Under cabinet lighting is one of the highest-ROI projects a homeowner can tackle in the kitchen. It costs less than most appliances, installs in an afternoon, and immediately improves both function and aesthetics. Choose between affordable LED strips for quick results or tape lights and puck fixtures for a more polished finish. Prepare surfaces properly, measure twice, and don’t skip trim details, they’re what separate DIY from designed. The right color temperature makes the difference between flat lighting and something genuinely inviting. With 2026’s mature LED market, there’s no reason to live with shadowy countertops or an unfinished-feeling kitchen.